Our Range


How to Renovate a Bathroom
A bathroom renovation can transform the look and functionality of your home, but understanding how to renovate one can be a challenge. Concerns about cost, disruption, and decision-making can quickly become overwhelming, particularly when working with a limited budget.

With precise planning and a step-by-step approach, bathroom renovations can be undertaken with confidence. This guide provides a practical, six-step approach, covering everything from early planning and budgeting to design decisions, trades, and final finishes, while outlining realistic timelines to help you know exactly what to expect at each stage.
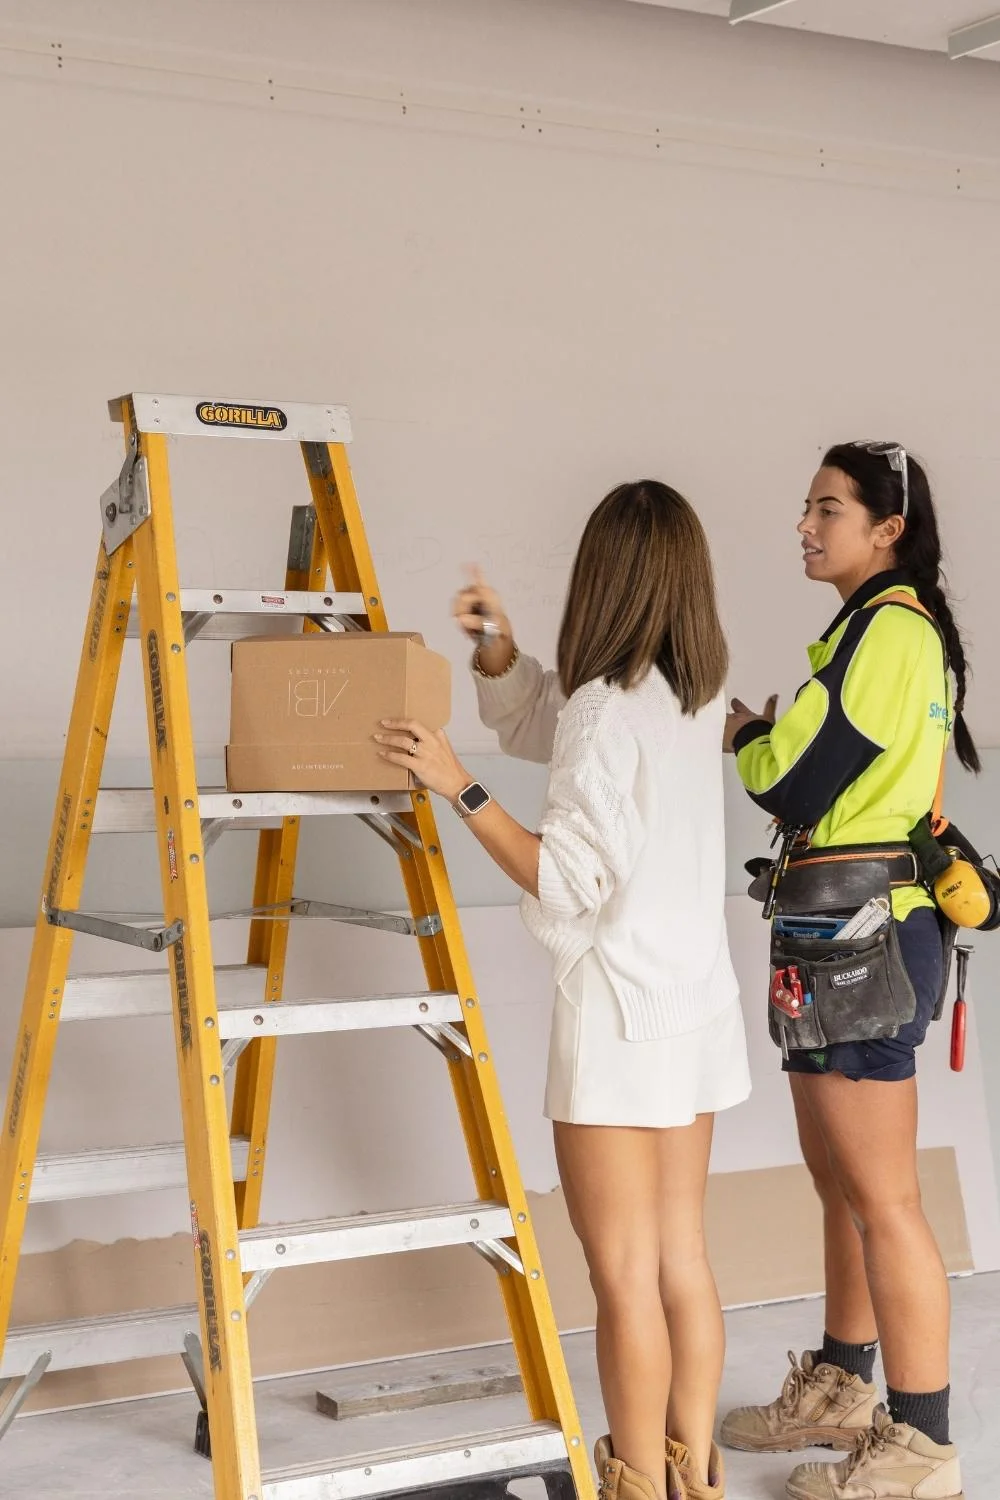
Planning Your Bathroom Renovation


Before embarking on a bathroom renovation, it’s important to determine whether you’re undertaking a complete refurbishment or a cosmetic update. This will help you define your approach and the scope of the work you need to undertake. If you are undertaking a full renovation, it is also essential to understand any layout limitations and waterproofing requirements, as well as to identify your goals in terms of style, storage, and accessibility. It’s also a good idea to gather inspiration from design magazines, online platforms, and showrooms to clarify your vision and guide your decisions.
Planning a Bathroom Renovation Budget
Having a clear understanding of your renovation costs is essential when renovating a bathroom. While the size of your space plays a role, your overall budget will also be shaped by the condition of existing plumbing, the complexity of the layout, and the quality of materials and fixtures you choose. It is essential to factor in often-overlooked costs, such as plumbing upgrades, waterproofing, electrical work, waste removal, and labour, as these can significantly impact your final expenditure.
Carefully balancing where to save and where to invest can play a key role in managing your renovation budget. Prioritising tapware, waterproofing, and installation can help avoid costly issues down the track. Quality tiles, cabinetry finishes, and bathroom accessories may offer opportunities to stay within budget without compromising on style. Allowing a contingency of around 10–15% is also wise, particularly in older homes where unexpected issues may arise.
You should also consider the practical implications of your design choices. For example, large-format tiles can reduce grout lines, simplify installation, and shorten the overall installation time, while mosaic tiles are better suited for splashback walls. These core design decisions then influence other major product selections, including bathroom vanity units, basins, and baths.

Consider booking a complimentary showroom consultation to receive guidance on selecting the best ABI products for your bathroom renovation. Additionally, our Bathroom Renovation Calculator serves as a practical starting point for estimating the likely cost of your renovation. By entering a few key details, you’ll receive an estimated breakdown that considers materials, labour, fixtures and fittings, along with recommended allowances for contingencies and project margins.
A 6-Step Guide to Renovating Your Bathroom
This guide breaks down a bathroom renovation into straightforward stages, taking you from demolition through waterproofing, tiling, and final finishes.
Step 1: Demolition and Strip-Out
In this stage, the bathroom is entirely cleared of existing fixtures, tiles, and vanities, providing a blank canvas for the new design. Careful planning is essential, particularly in older homes, as it can uncover hidden issues such as water damage or outdated plumbing that may need to be addressed before work progresses.
For peace of mind, employing qualified, licensed tradespeople for demolition and strip-out ensures the work is carried out safely and helps prevent unnecessary damage.
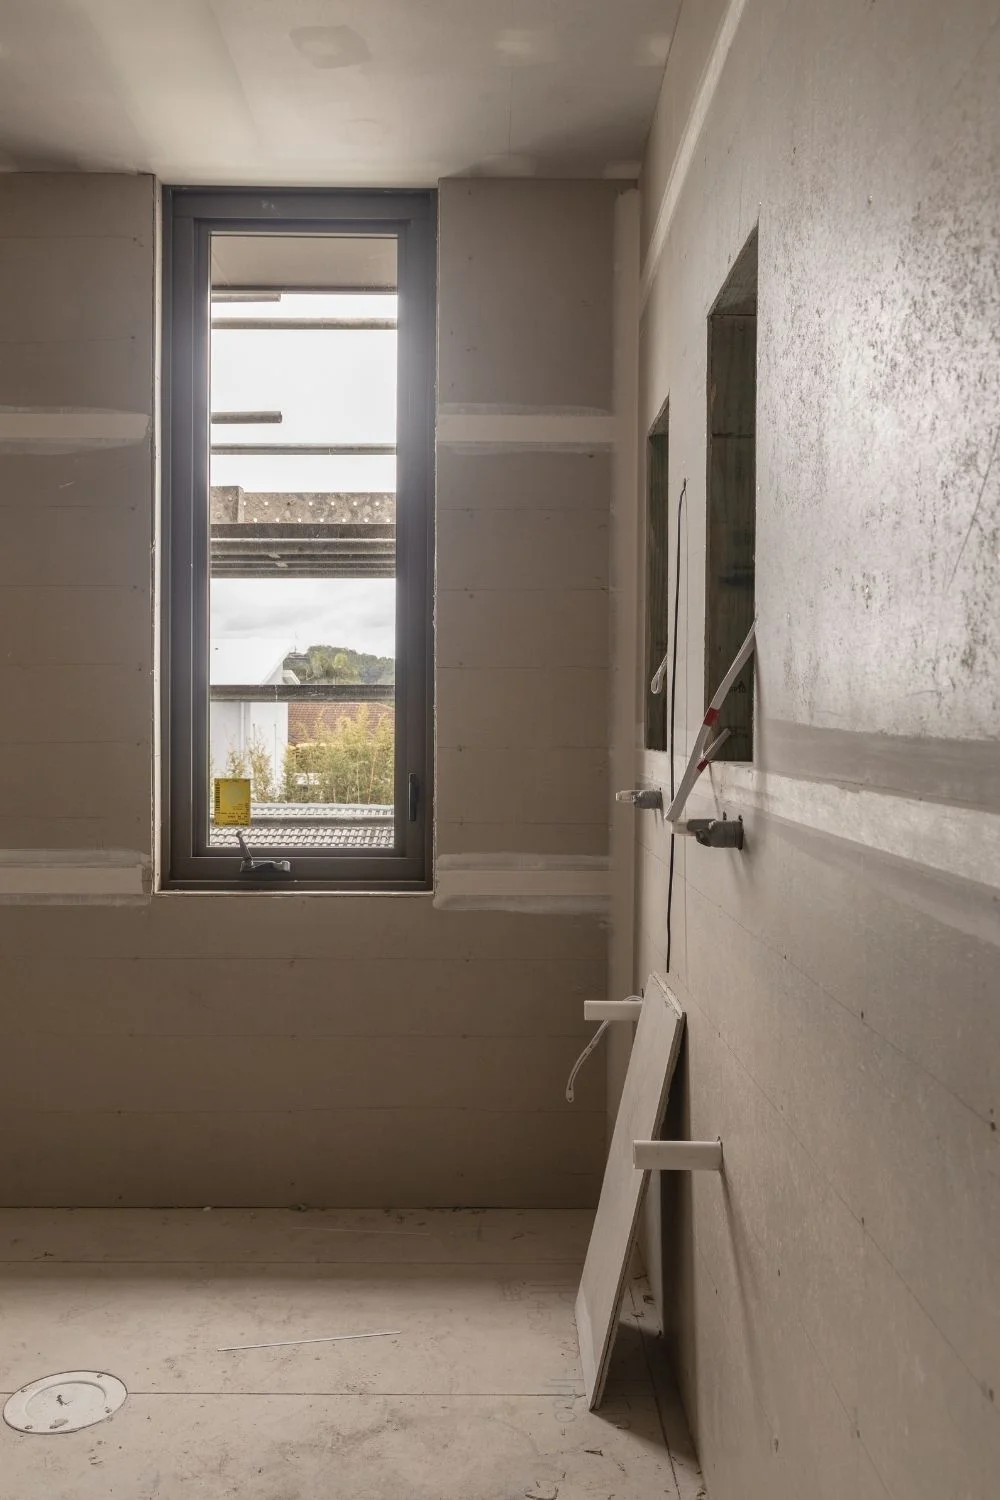
Step 2: Plumbing and Electrical Rough-Ins
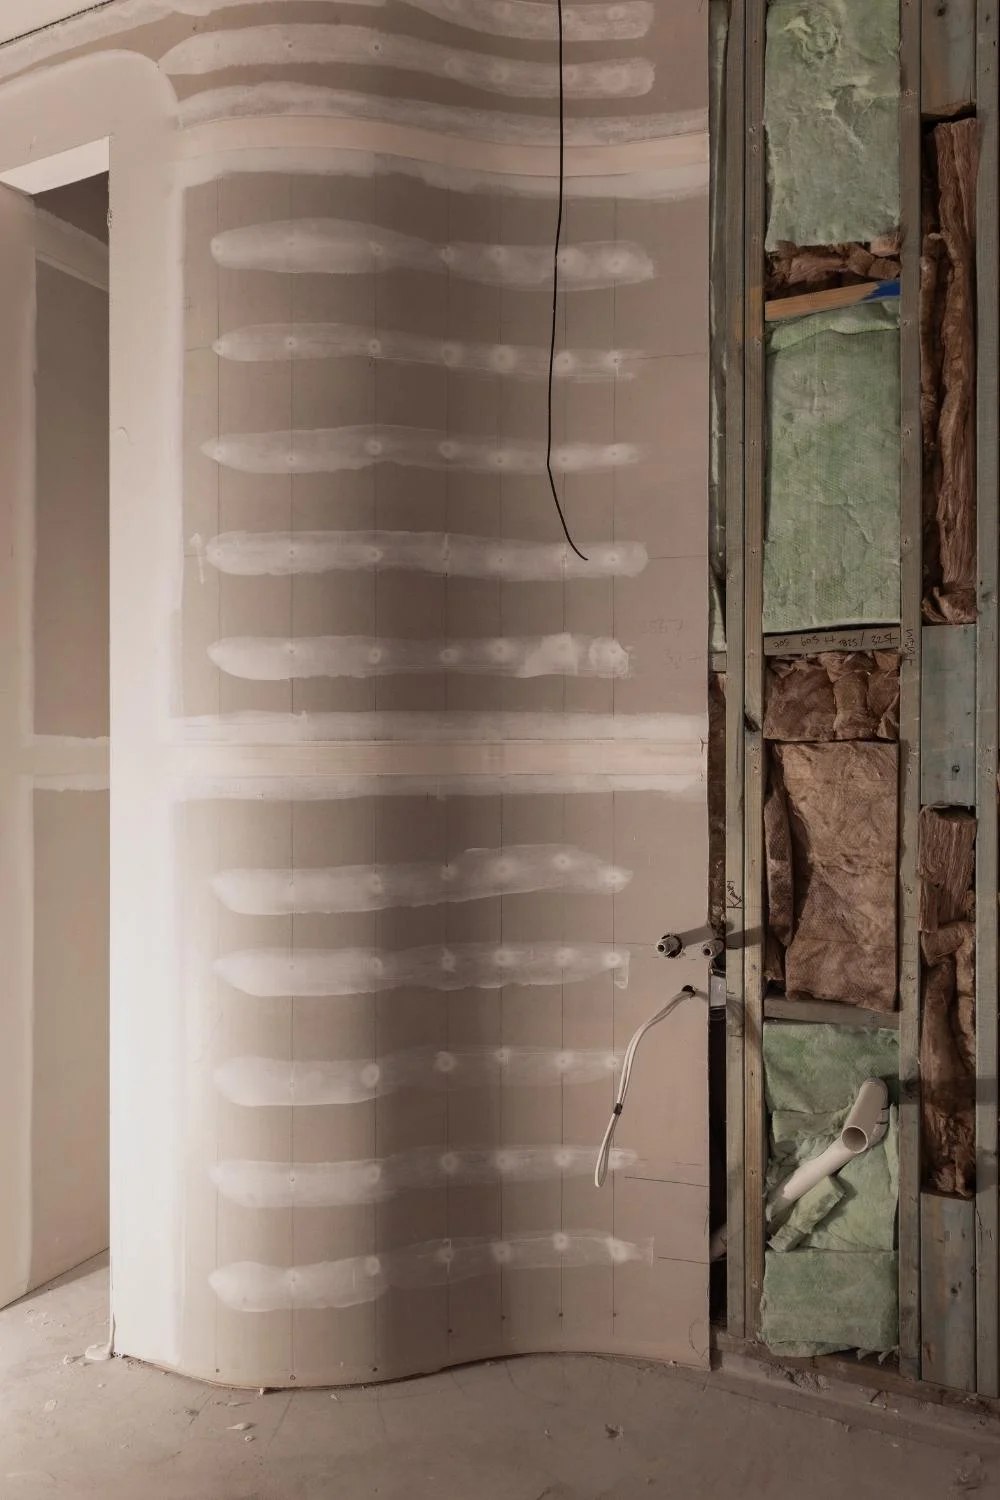
After the old fixtures and finishes are taken out, attention turns to the plumbing and electrical services hidden behind walls and under the floor. This stage involves relocating plumbing to accommodate the new layout, running electrical wiring, and installing lighting points for vanities, mirrors, heating, and ventilation. These rough-ins must be completed before walls are closed, as they determine the final placement and functionality of all bathroom fixtures.
Careful coordination at this stage is essential to ensure plumbing and electrical services align with your approved design and product choices. Preparation for waterproofing also begins here, with surfaces assessed and readied to meet UK Building Regulations before membranes are applied in the next stage. All plumbing and electrical work should be carried out by licensed tradespeople to ensure compliance and avoid costly changes later in the renovation process.
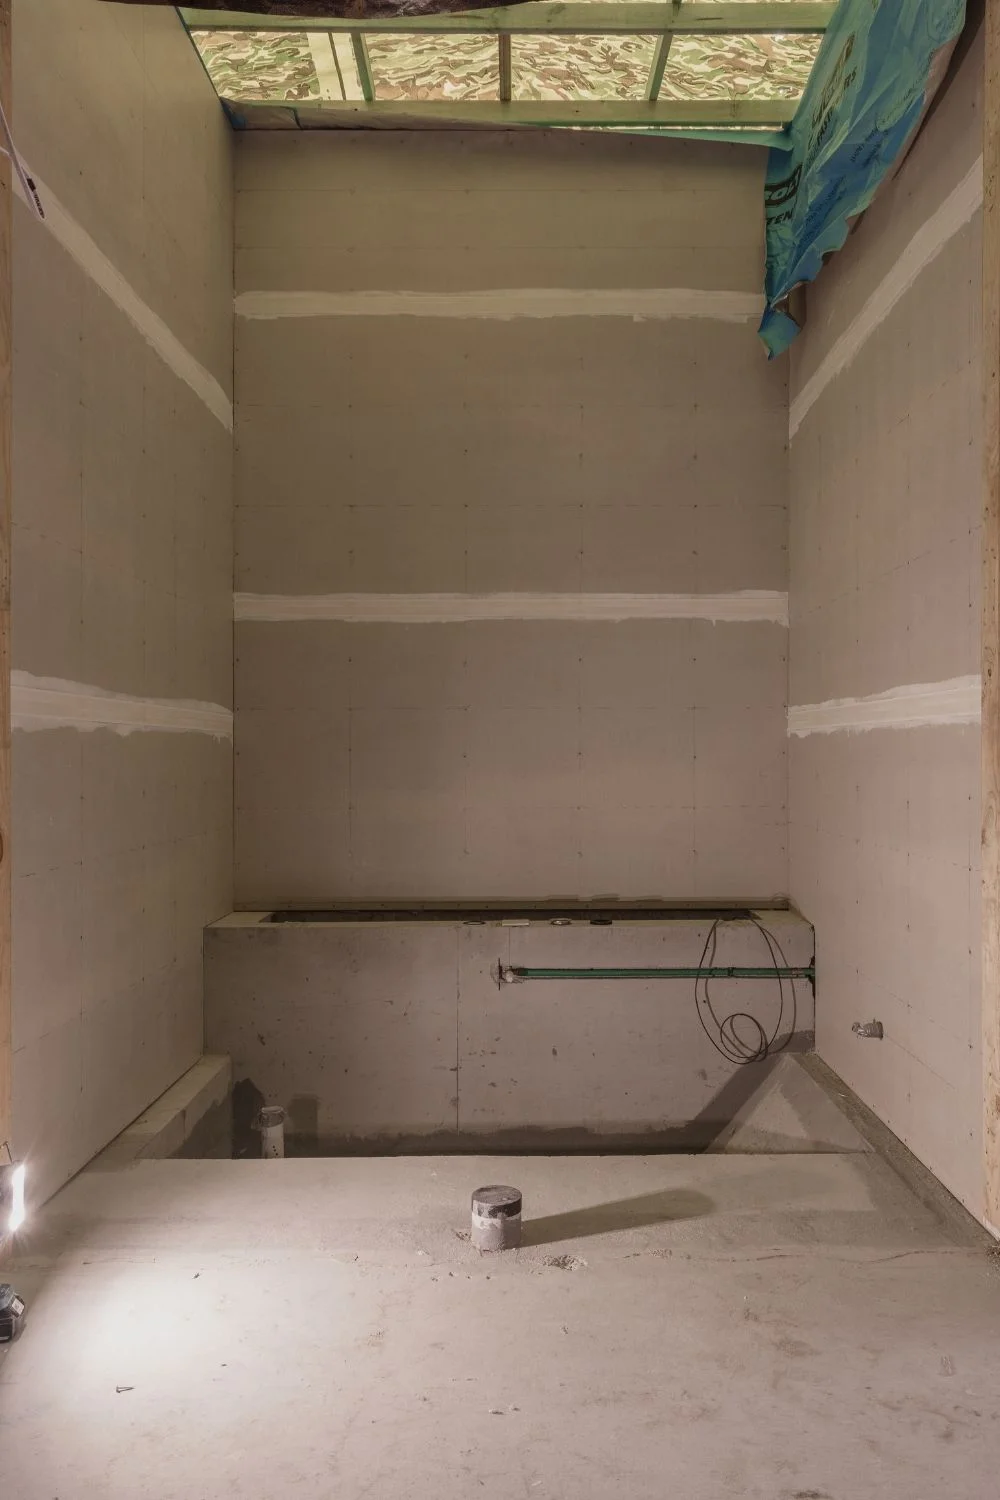
Step 3: Waterproofing
Waterproofing is another crucial aspect of a bathroom renovation, and as noted, it must be carried out in accordance with UK Building Regulations. This process involves applying mandatory waterproofing membranes to floors and designated wall areas, including showers, baths, and wet zones, to protect against moisture penetration and long-term structural damage.
Compliance with UK standards is essential, with specific requirements for coverage, application methods, and detailing. Equally important is allowing adequate drying and curing time before tiling can begin. Rushing this stage can compromise the integrity of the waterproofing system and lead to costly issues down the track, making it a key factor in determining the overall renovation timeline.
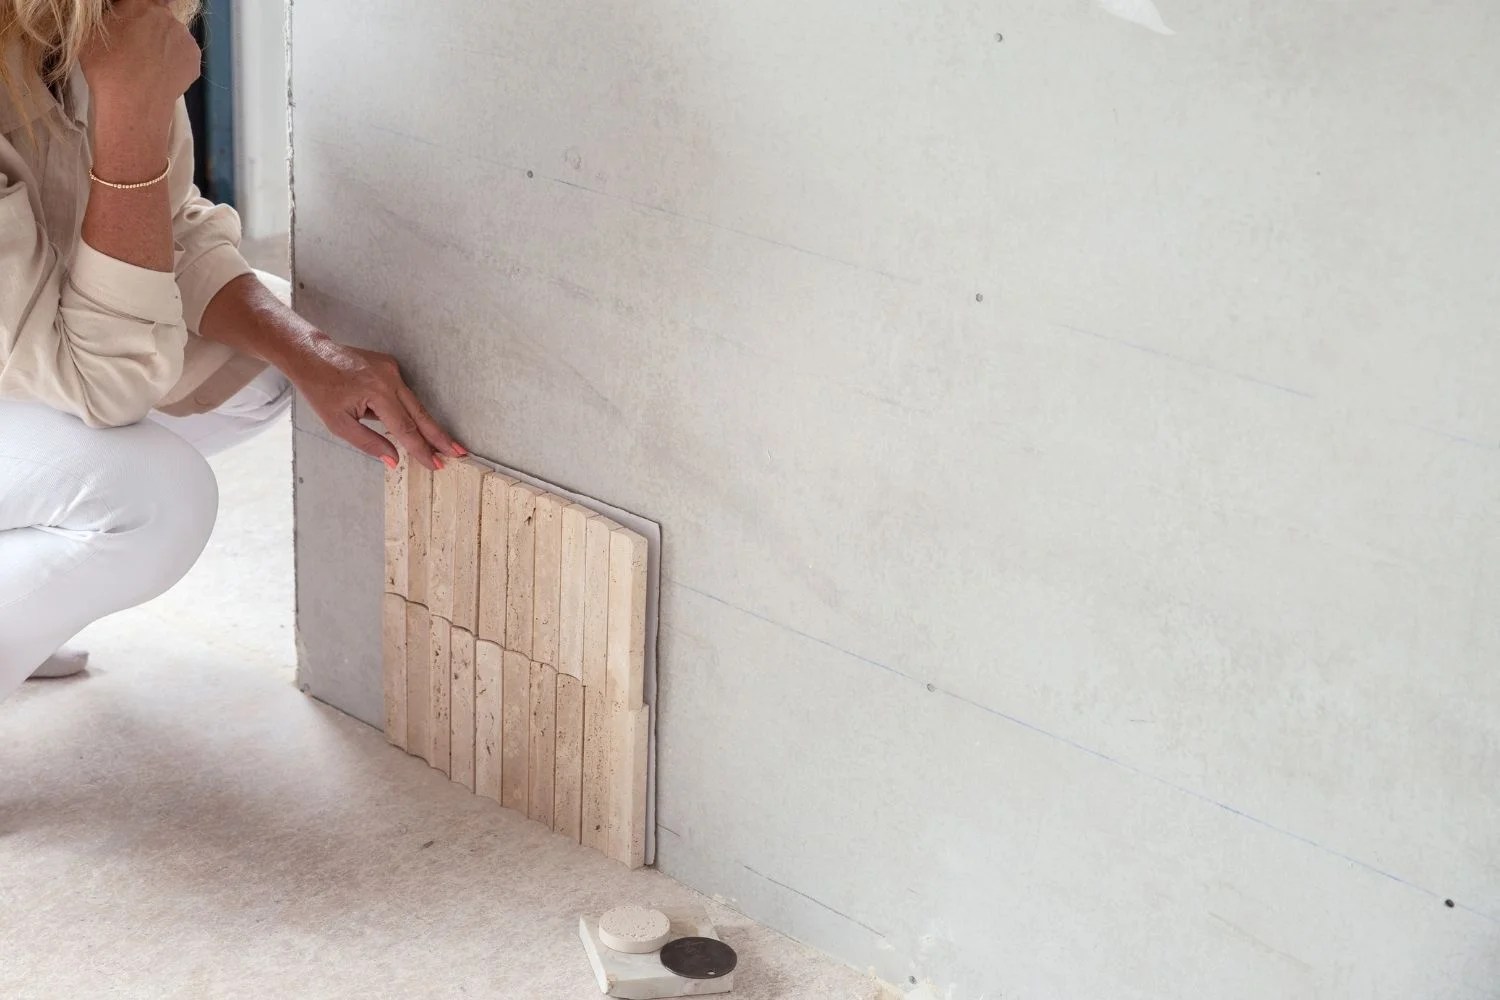
Step 4: Tiling and Flooring
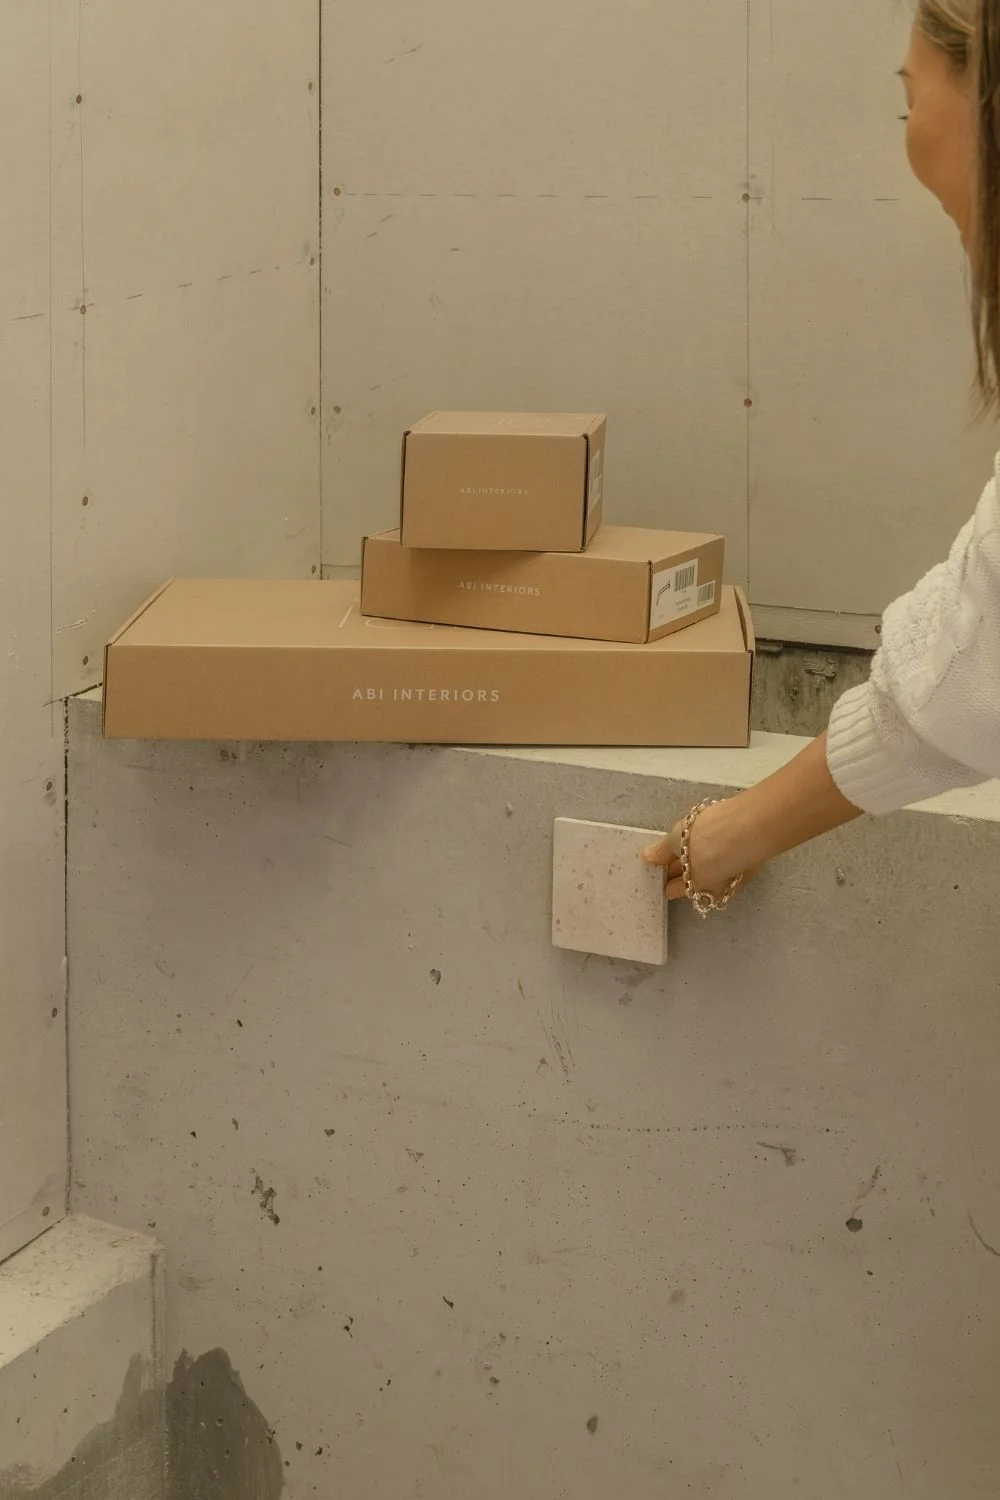
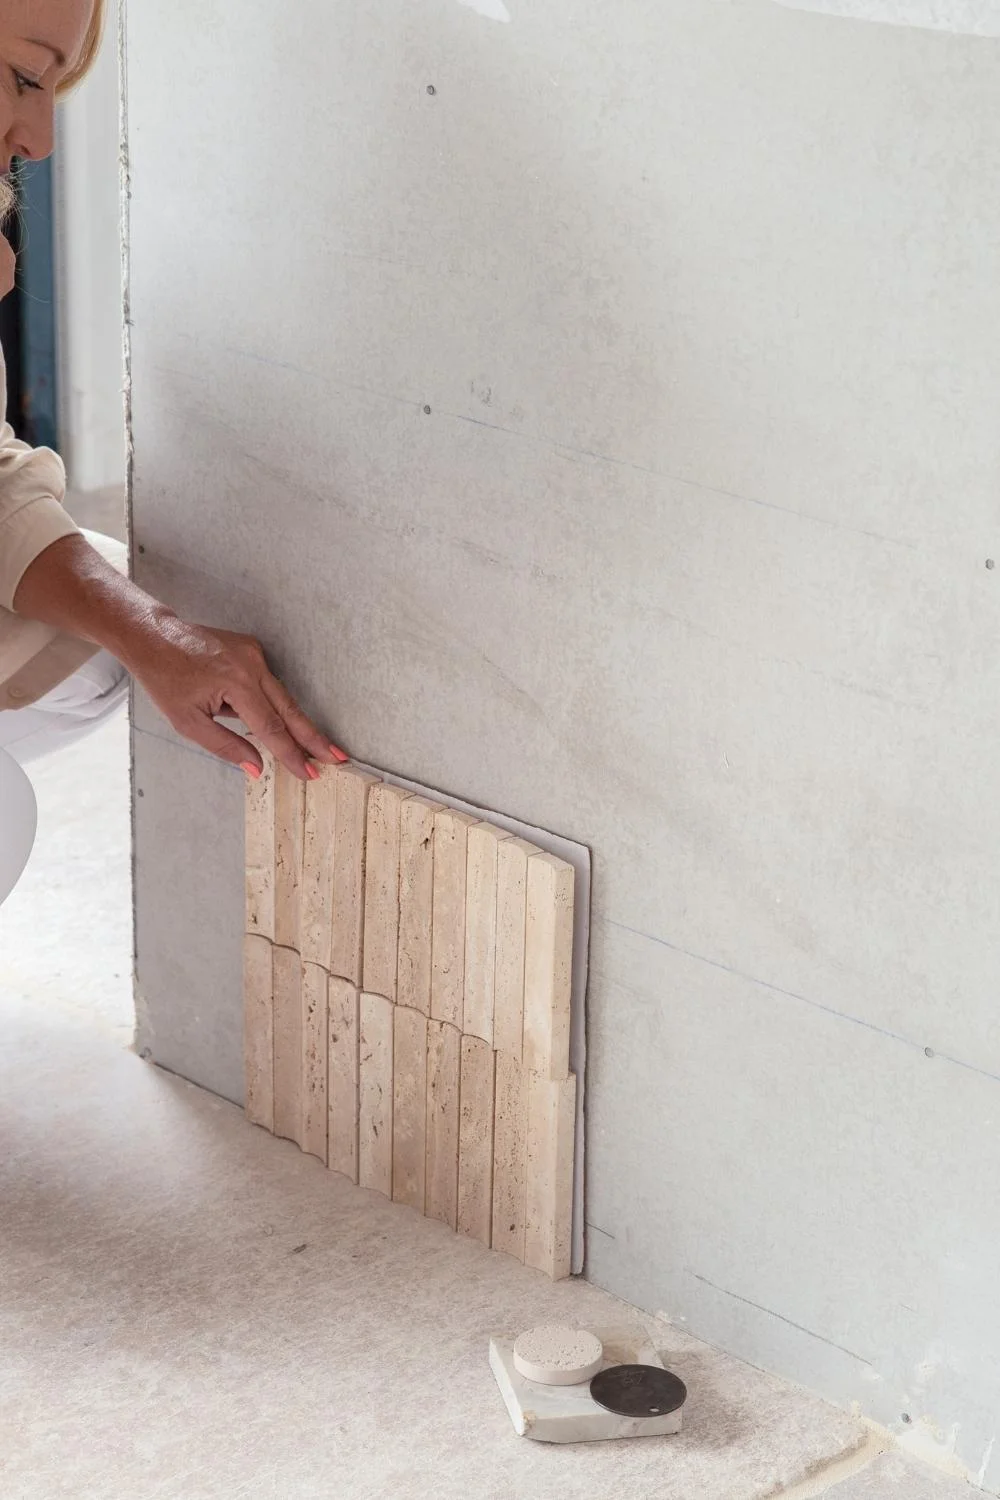
Once the waterproofing has fully cured, floor and wall tiling can begin, creating a significant visual transformation in the bathroom. At this point, layouts are set, levels are established, and the overall structure of the space begins to take shape, making precision and quality of work critical.
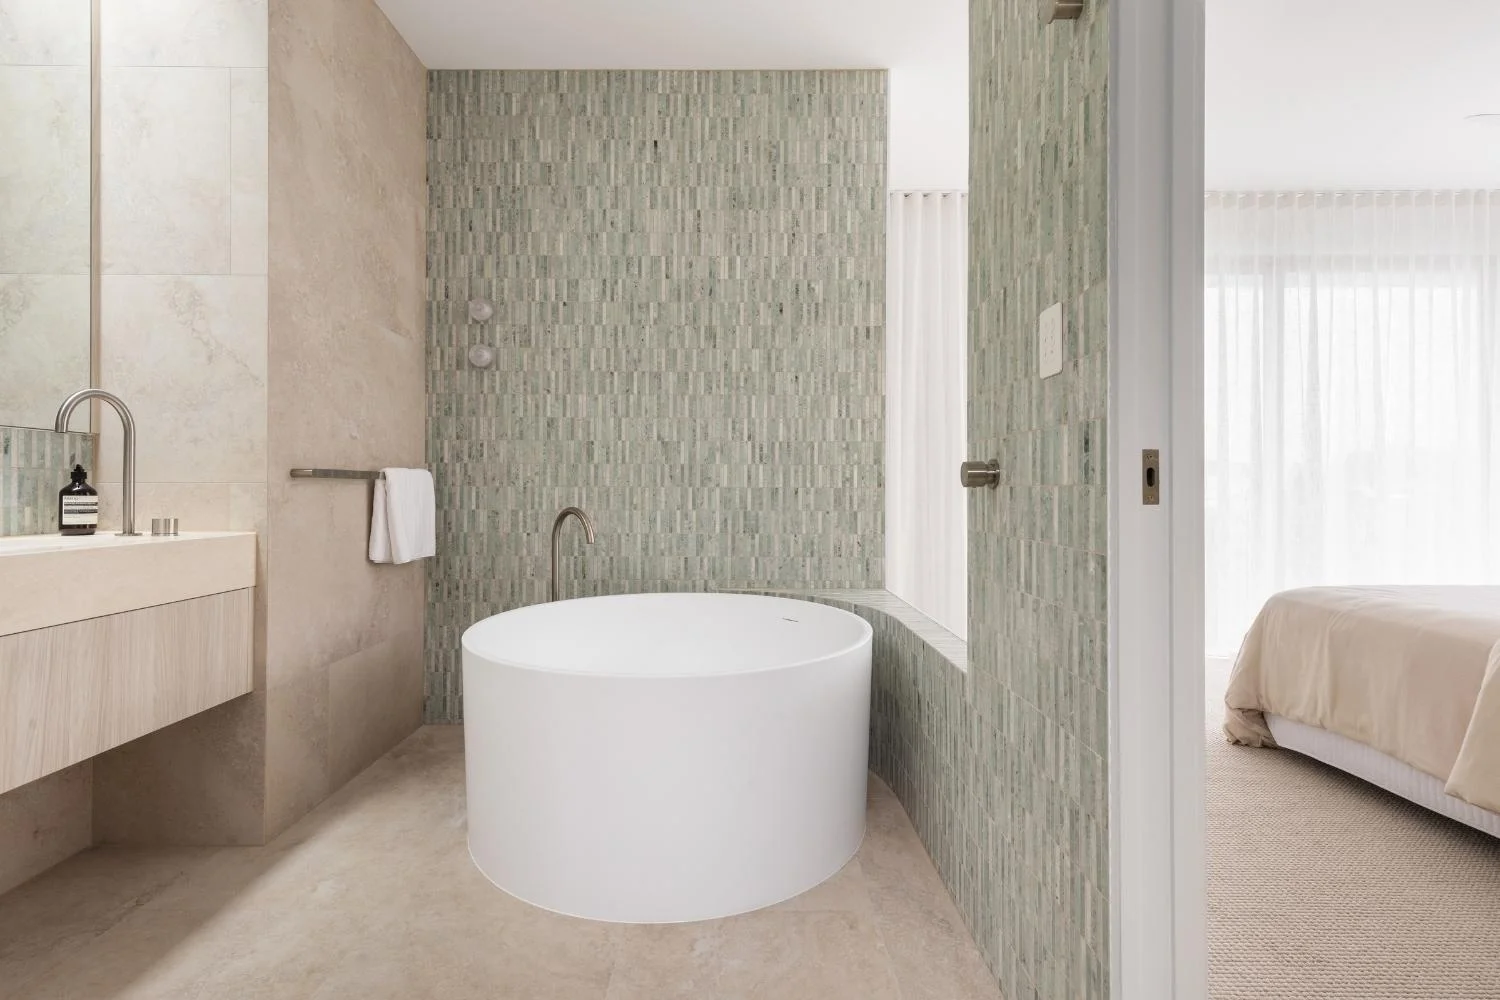
Large-format tiles are often used to tie the bathroom together, offering visual continuity on walls and floors while establishing a solid design foundation. Their clean lines and reduced grout joints contribute to a more refined finish, allowing other fixtures to sit cohesively within the space. Small tiles, such as mosaics and zellige tiles, are ideal for feature walls and splashbacks in bathrooms.
Step 5: Installing Fixtures and Fittings
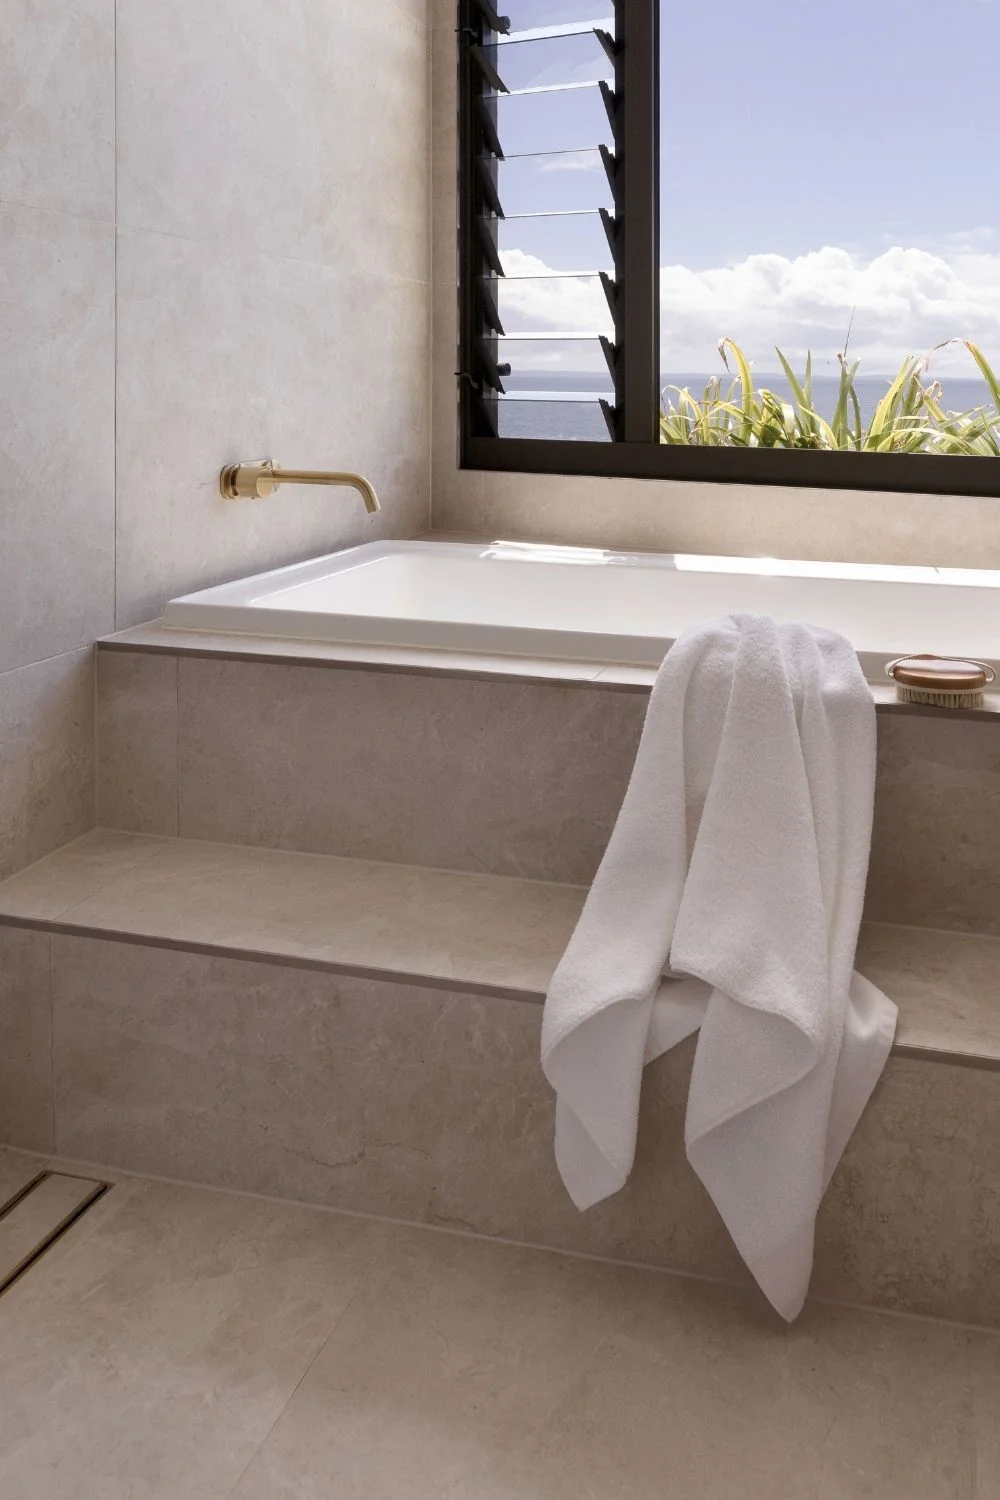
With the tiling complete, the installation of fixtures and fittings begins, bringing the bathroom design together. This stage involves installing tapware, showers, vanities, basins, toilets, and shower wastes and floor wastes, transforming the space into a functional bathroom.
Careful installation is vital, as these elements must align precisely with the plumbing and waterproofing set out earlier in the renovation. Quality fixtures not only elevate the overall design but also contribute to long-term performance and durability. Thoughtfully selected pieces, such as tapware and aesthetic drains, help create a cohesive finish, ensuring every element works seamlessly visually and practically within the space.
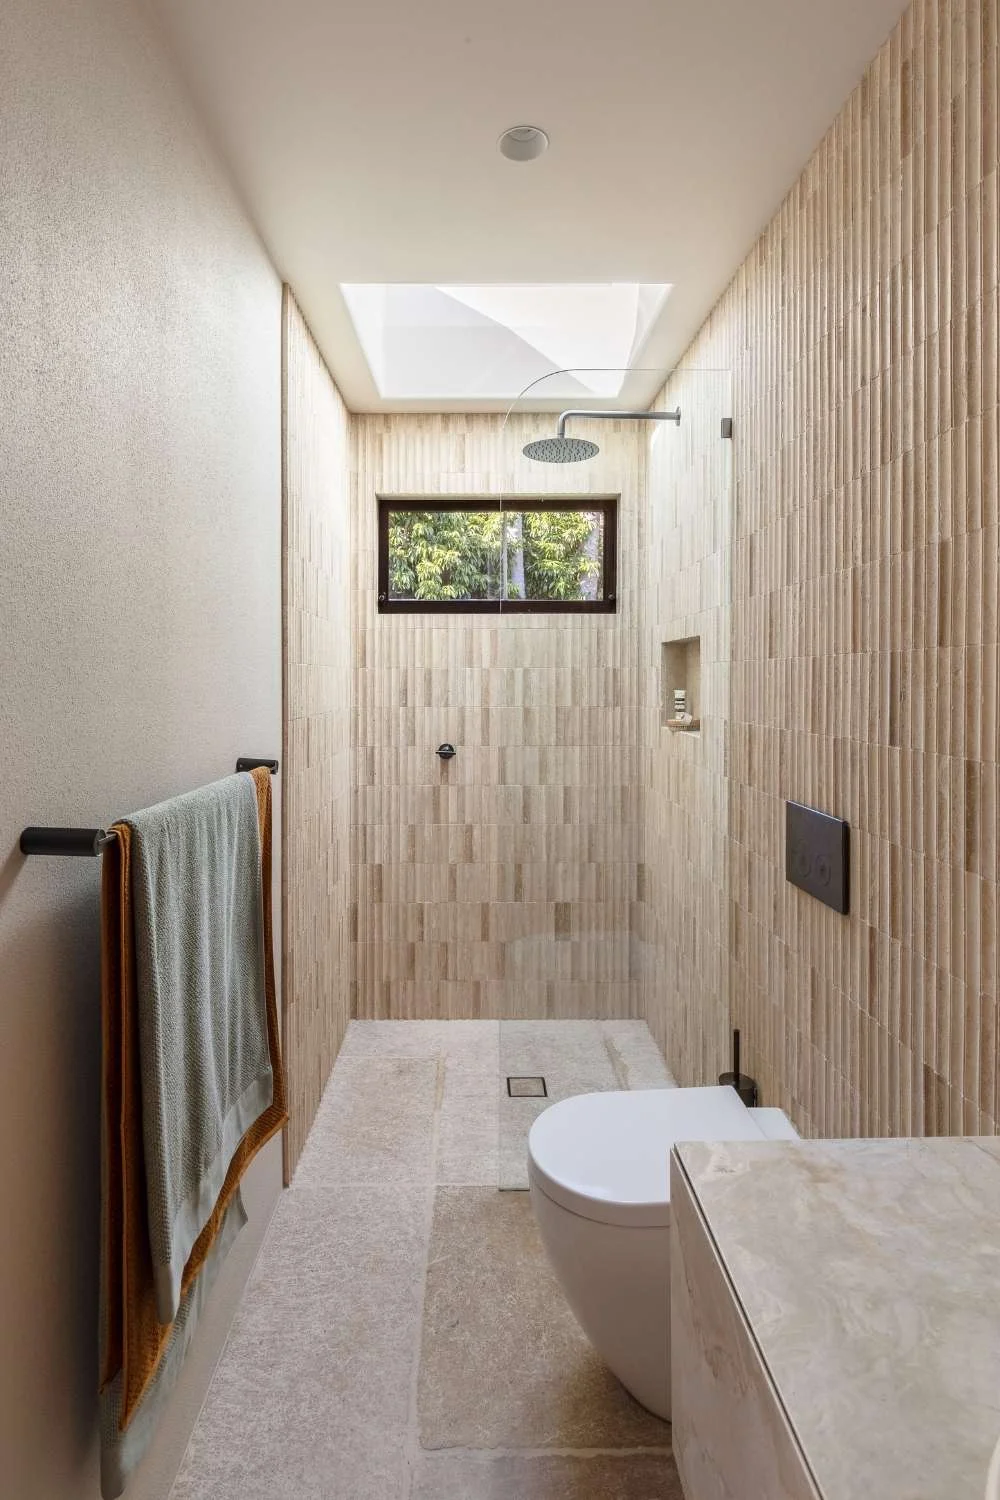
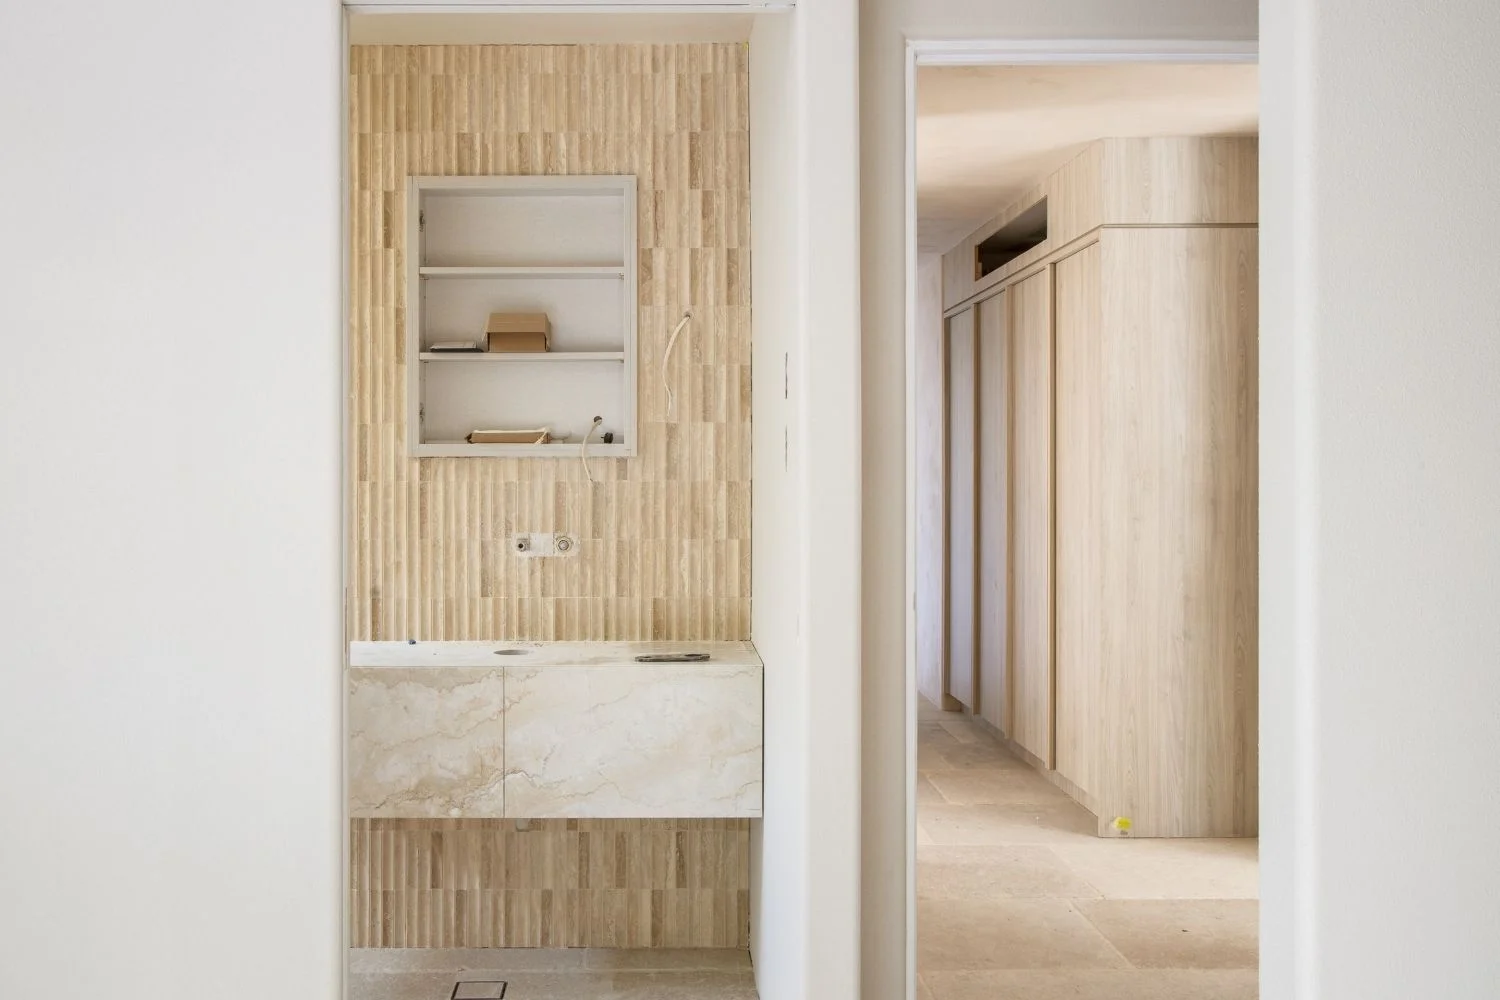
Step 6: Painting, Sealing, and Finishing Touches
In the last stage of a bathroom renovation, the design elements are assembled, and the finishing touches are installed to complete the space. This includes painting walls and ceilings, sealing around wet areas, installing mirrors, shelving, and any other fittings, as well as adding final styling touches.
Attention to detail is essential at this stage. Neatly applied caulking and sealing enhance the bathroom’s finish and provide protection against water damage. The final details complete the space, bringing your bathroom together seamlessly.
How Long Will a Bathroom Renovation Take?
The duration of a bathroom renovation depends on the space's size and the scope of the work. As a practical guide, it’s helpful to dedicate roughly one week to each of the six key stages outlined above, from demolition and strip-out through to plumbing, waterproofing, tiling, fixture installation, and finishing touches.
Allocating sufficient time for each stage ensures careful completion, prevents unnecessary delays, and safeguards the quality and durability of the finished bathroom. Don’t forget to allow extra time for planning, taking accurate measurements, and ordering materials before work begins, as these steps are as important to a smooth renovation as the construction itself.
Tips for Renovating a Small Bathroom
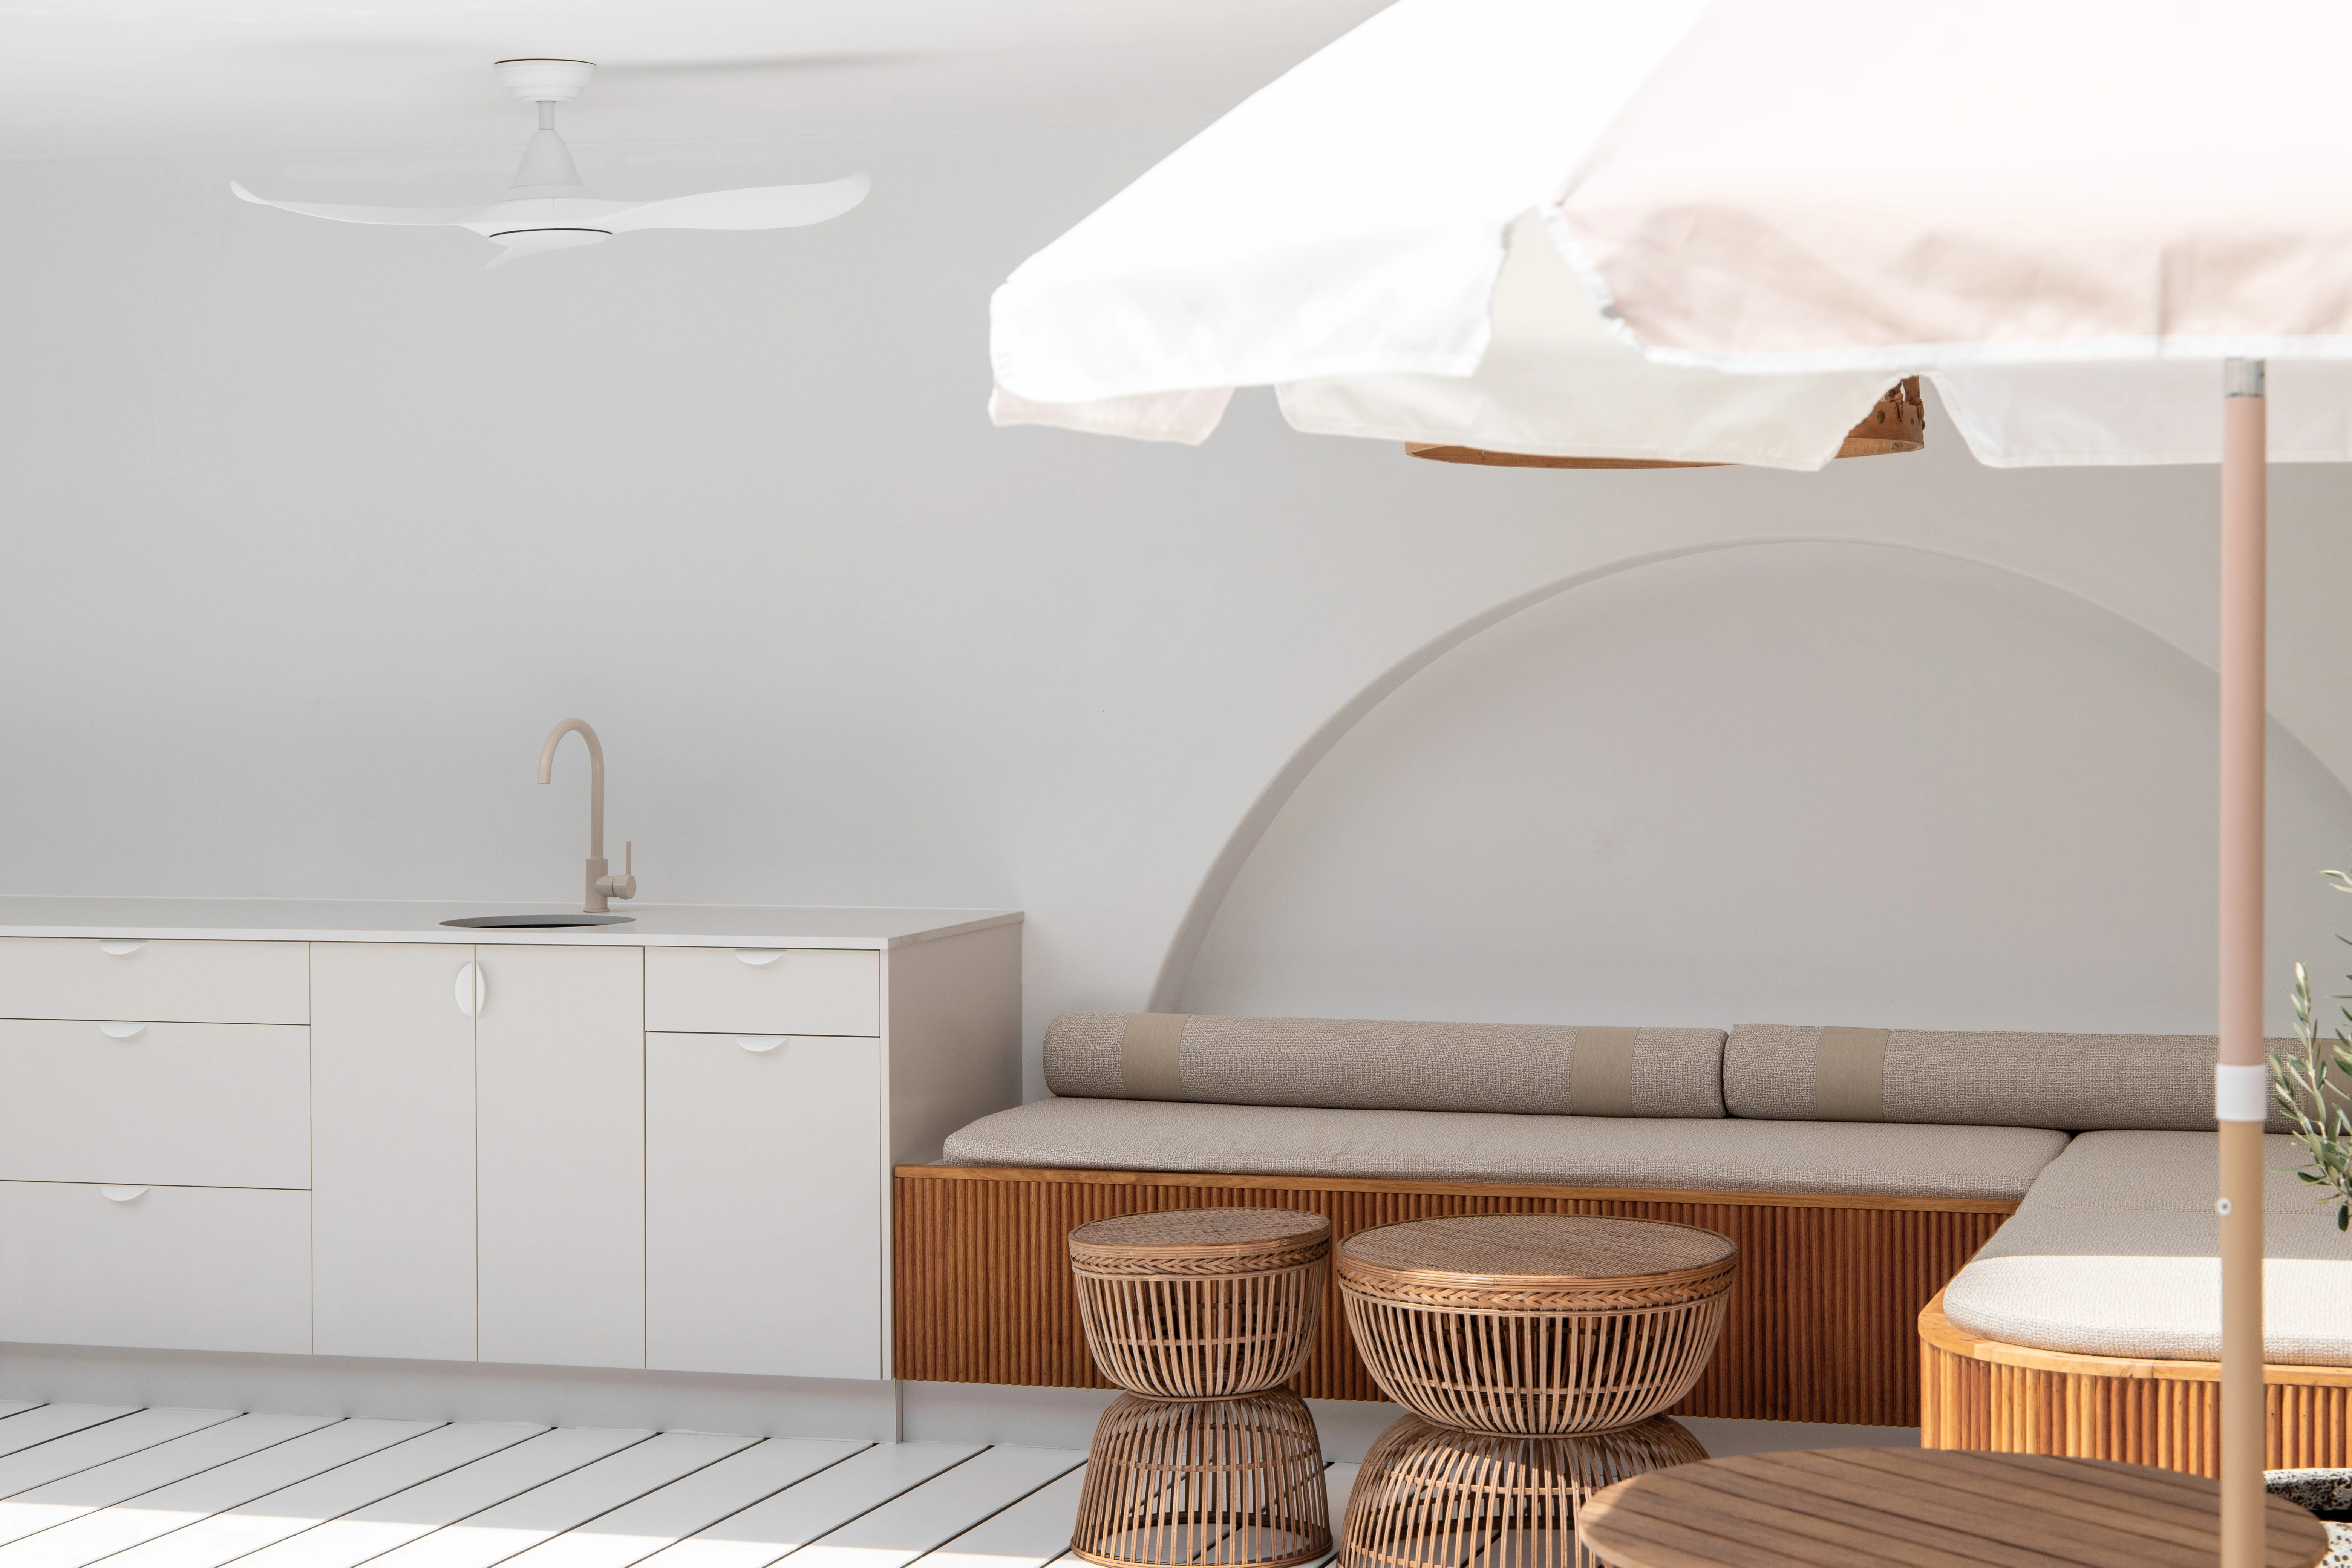
Renovating a small bathroom is about using the space you’ve got wisely. Clever design choices can maximise both functionality and the sense of openness, ensuring your bathroom feels larger and more practical.
Effective strategies include:
- Vertical storage to free up floor space
- Wall-hung vanities and toilets to create a sense of openness underneath fixtures
- Large-format tiles on floors and walls to give the illusion of a bigger space
- Light colour palettes to reflect light and make the room feel brighter
- Smart lighting placement to enhance functionality and highlight features
- Mirrors to visually expand the space and increase natural light, and bathroom mirror cabinets for convenient storage
It’s essential to factor these considerations into the planning stage and carry them through each step of the six-stage renovation process. By planning carefully, even a compact bathroom can feel airy, stylish, and highly functional, with every detail contributing to the ideal modern bathroom renovation.
Renovation Checklist
This checklist provides an easy way to track your progress and ensure all the essential elements of your renovation are in place before work starts:
| Budget Set | |
| Trades Booked | |
| Materials Ordered | |
| Timeline Set | |
| Measurements Confirmed | |
| Styling Vision Decided |
For further inspiration, check out these blogs:
Bathroom Renovations: 9 Things You Need to Know
Bathroom Renovations: Bathtub, Shower, or Both?