


Gallery Walls: Our Styling Guide
Mastering the ability to curate a gallery wall offers significant rewards, emulating the experience of an exhibition without stepping foot out of your front door.
Picture walls are more impactful than paint or wallpaper, captivating the essence of your personality and style on a single surface.
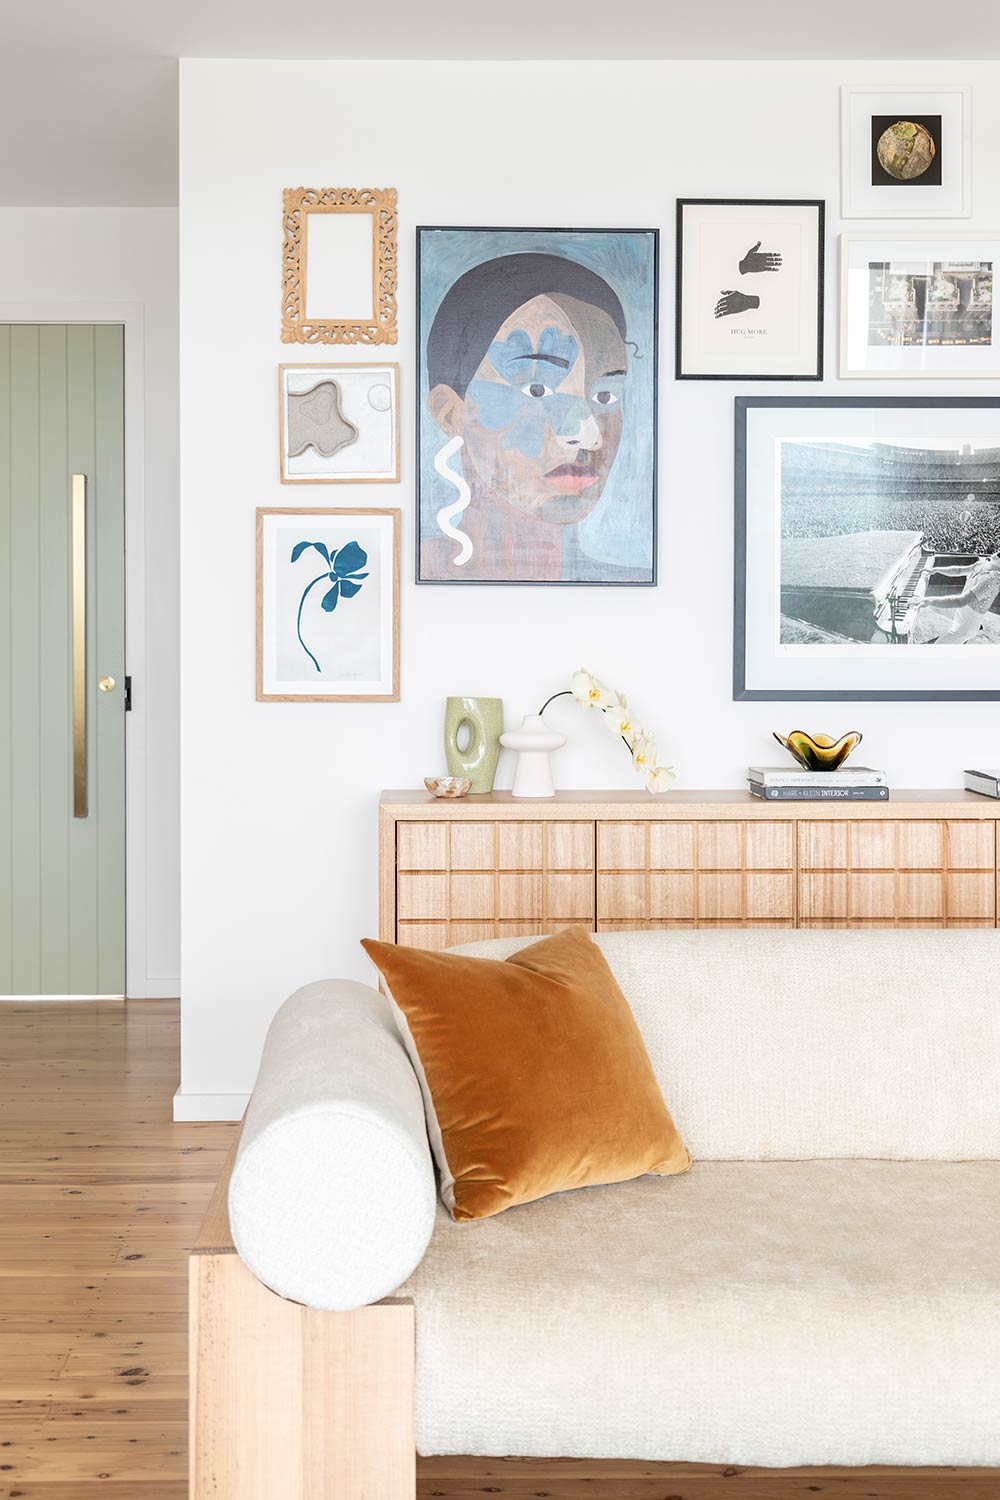
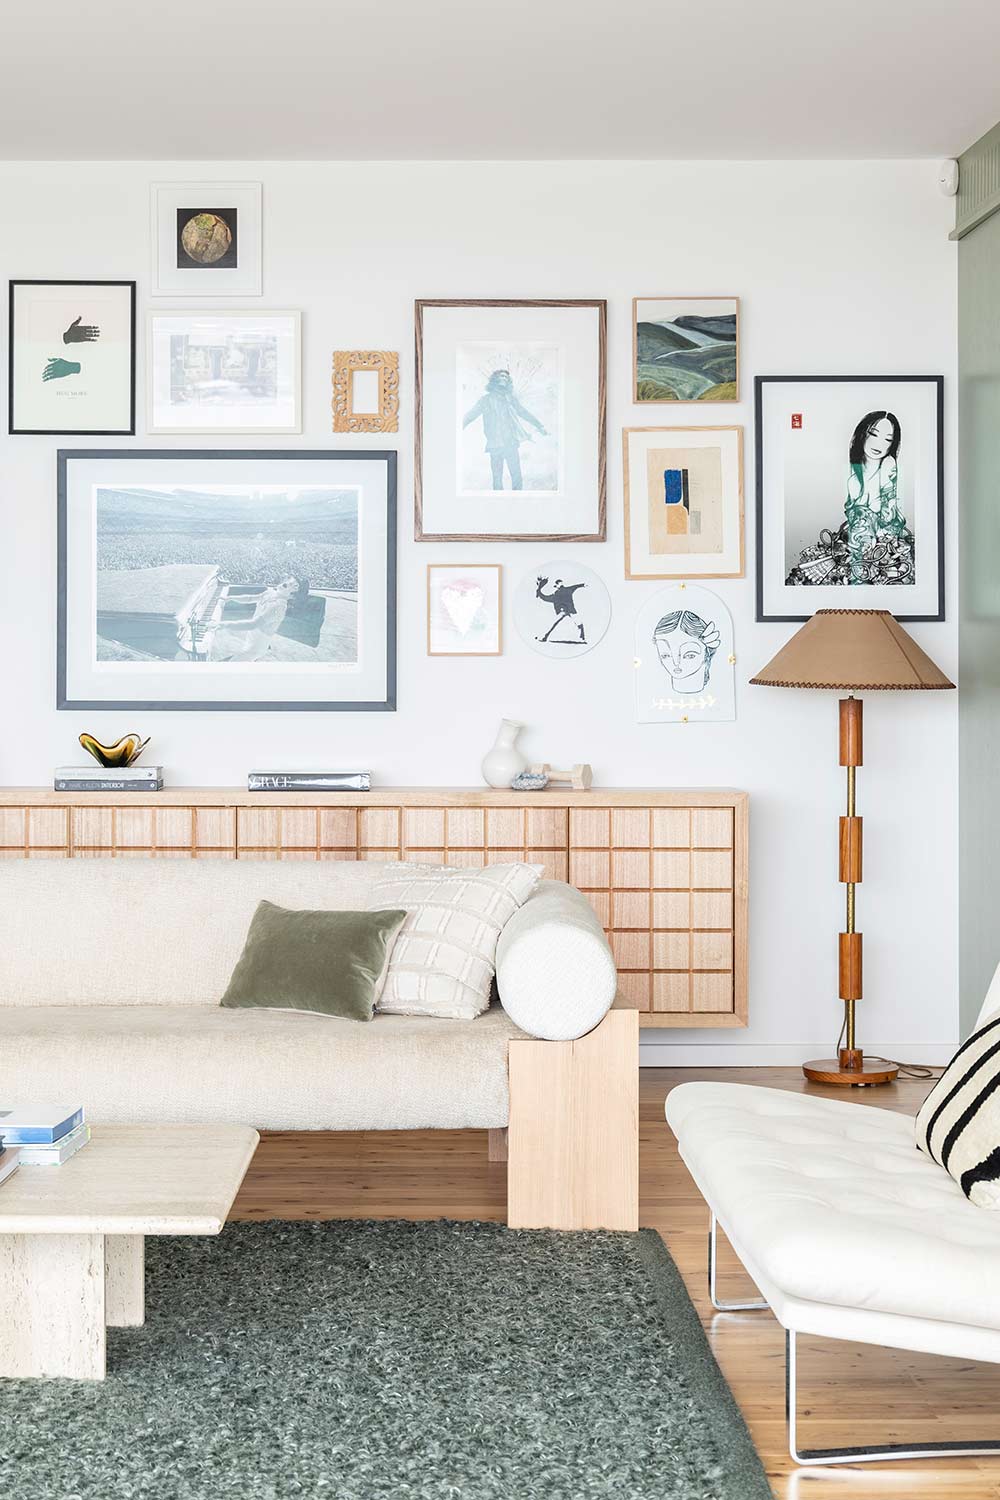
Stylist Kerrie-Ann Jones has created an extraordinary art display in her mid-century home, inspiring us to illustrate how you can arrange your own personal collection.
Below, we’ll explore the steps for creating a photo wall that will significantly enhance the character and aesthetics of your space.
1. Build Your Collection
The joys of designing a gallery wall begin with the first image you acquire. The collection process should not be rushed for the sake of filling an empty space. Instead, accumulate artwork and items over time that spark sentiment and represent your unique persona.
A variety of media, subject matter, and techniques provoke the most visual interest and tell a more holistic story when arranged collectively.
By taking the time to thoughtfully consider your finds, they’ll be more likely to work in harmony as you gather these items with intention.
To gain inspiration for creating your collection, search Pinterest, social media pages, and interior design sites. Alternatively, find in-person examples by browsing your local cafes, bars, or art galleries.
2. Select Your Space
Once you’ve gathered an array of artwork, you can then determine where they’ll be proudly presented.
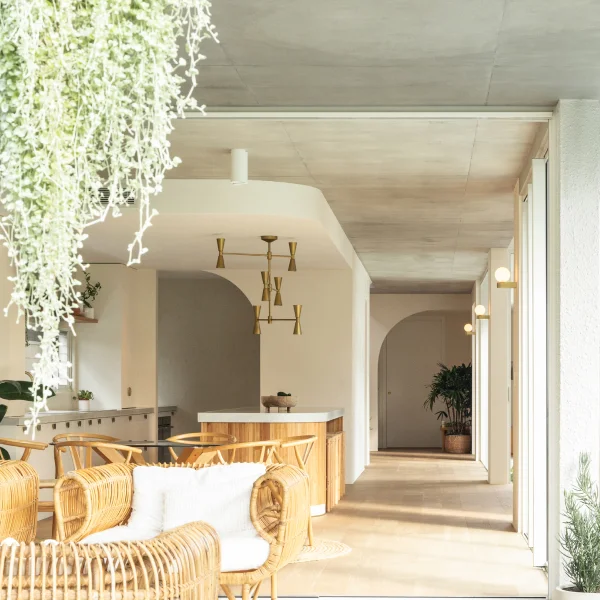
Picture walls most frequently appear in the living room, hallway, or beside the staircase, though they can be incorporated into most areas of the home.
While you may assume that ample space is needed to display your collection, a gallery wall is actually a brilliant feature for small apartments. They add charisma to a room and a homely touch that takes up zero floor space, avoiding unnecessary clutter.
If a large wall is unavailable, you can compose your images above a bedhead or around doors and windows.
Avoid placing your photo wall in an area where it may be exposed to heat or moisture, like beside an air conditioner or dishwasher. These conditions can damage the paper, reversing the time, energy, and costs you’ve invested in your project so far.
3. Combine Your Pieces
Now you’ve settled on your ideal space, it’s time to narrow down which artworks will work together to achieve your desired effect.
Aim to strike a balance of diversity and uniformity, so the collection is not monotonous but each individual piece still flows cohesively together.
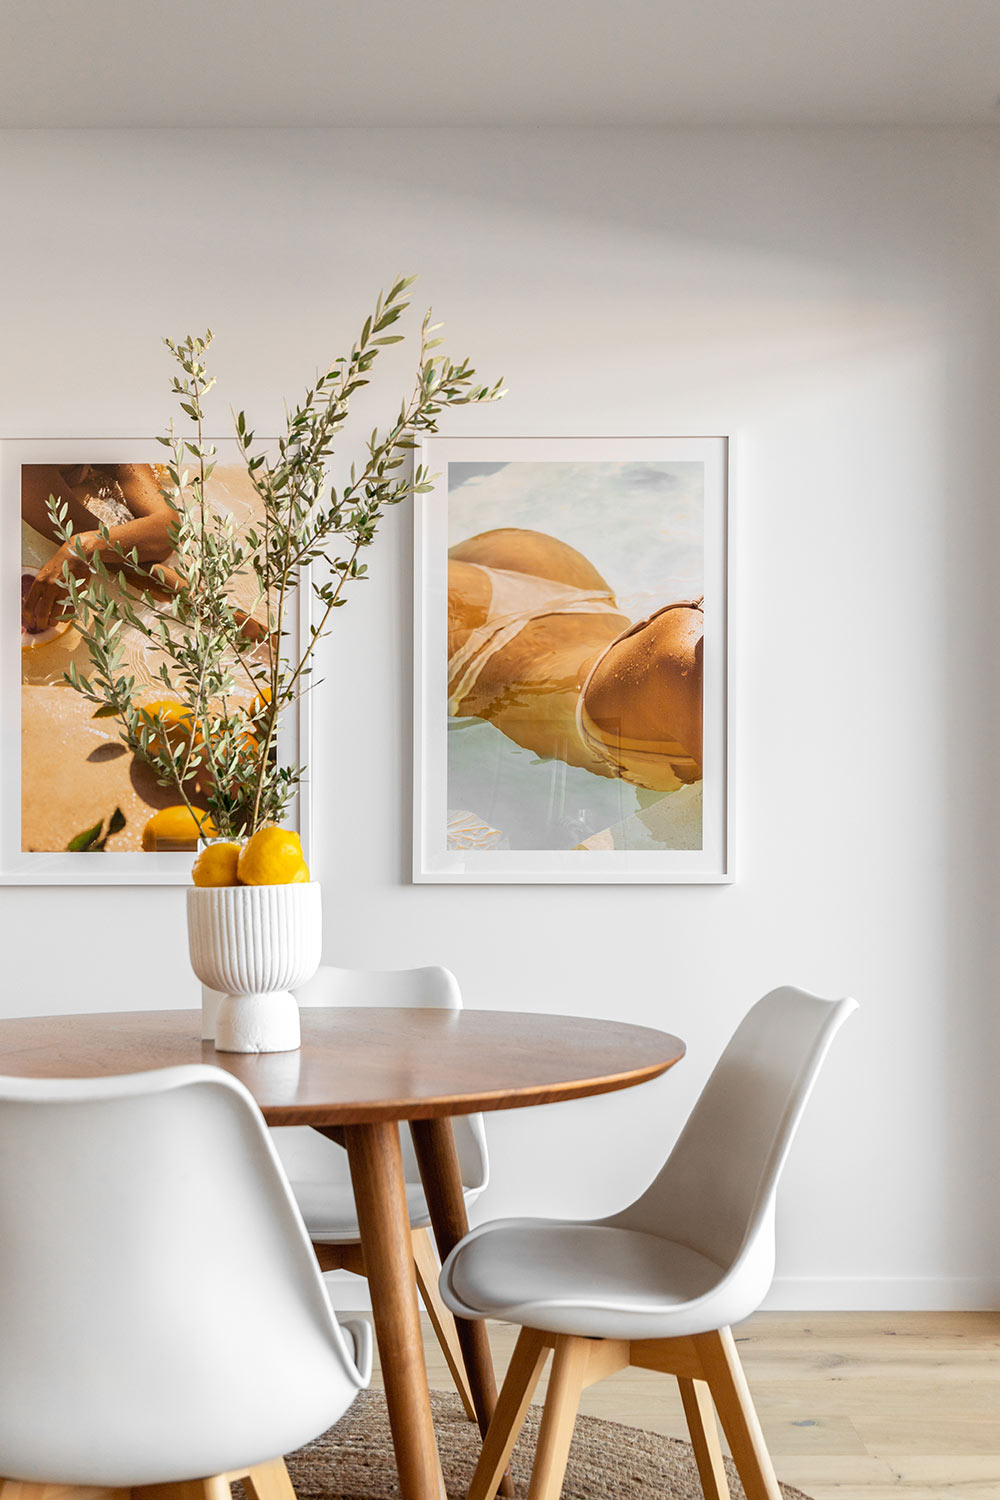
Variety can be embraced by pairing works of different shapes, sizes, and orientations — both portrait and landscape are equally welcome.
Select several frame styles and colours. For example, an ornate brass design can host a vintage photograph beside an abstract artwork in a minimal black frame.
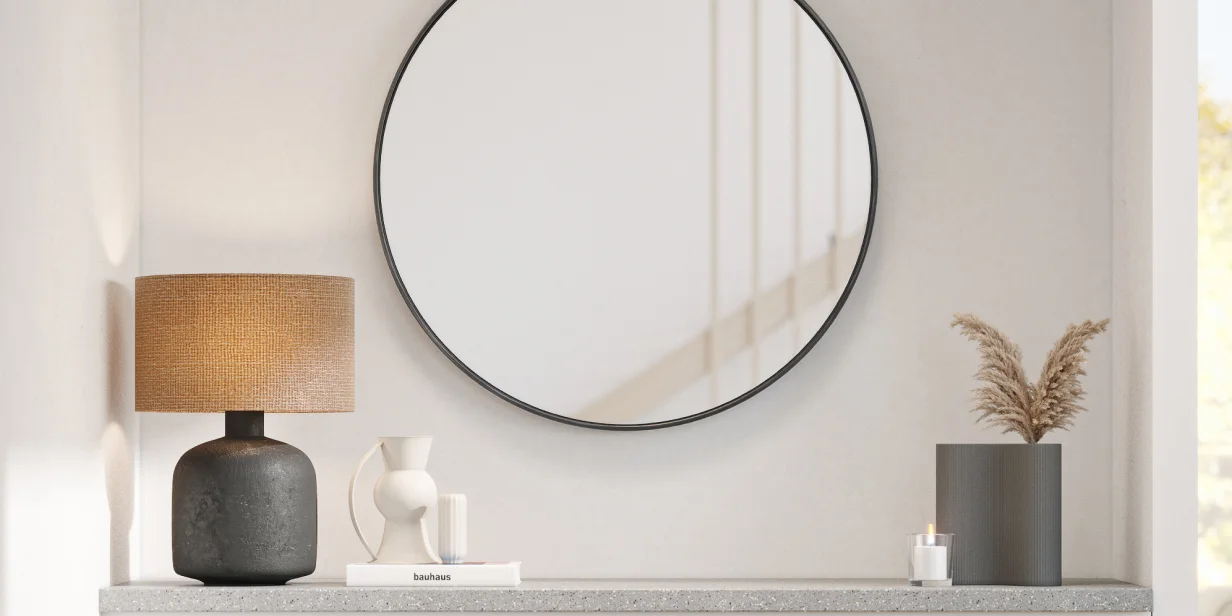
Consider leaving some canvas works unframed to incorporate an element of texture. Or, add a mirror to the composition to amplify available light and encourage a more dynamic space.
Then, seek opportunities to tie pieces together with a consistent colour palette. A black and white photograph will complement an illustration adorning a black mat board, and images of the ocean will flow seamlessly with an acrylic painting splashed with teal hues.
Continuity can also exist in subject matter selection, such as an environmental theme or an ode to a specific era. For example, vintage imagery can be seamlessly incorporated into a home featuring timeless brass fixtures.
4. Map Your Design
Finalising the placement of your pieces is arguably the most exciting part of the process.
Gallery walls can be arranged in two ways — in a grid formation, or as a salon-style hang with images organised in an array. Grids are better suited to uniform pieces and for those who are seeking a formal and orderly effect.
In contrast, if your space is easygoing or eclectic, the dynamic salon-style is an ideal option. This is especially true when grouping objects and images of different shapes, materials, and sizes.
The first step to mapping your design begins with measuring the wall. From there, you can mark this space on the floor using painter’s tape then arrange your artwork within this space.
Or, you can trace the outlines of your artwork onto paper and play with the arrangement directly on the wall, positioning the pages with tape. This will help you find the perfect composition before committing to hanging the frames on the wall — you can even nail the artwork directly over the paper, then pull the paper straight out.
Here are a few tips to keep in mind when arranging your photo wall:
- Design the gallery to span approximately two-thirds of the total wall space.
- Mark the centre of the arrangement with the largest image at around 6 feet from the floor. Work outwards from here with the remaining pieces to maintain balance.
- Create consistent spacing between images in a grid — ideally 3-6 inches. Salon-style arrangements can either be varied or still semi-structured. For example, you can hang your collection around an imaginary horizontal line, placing half of the gallery several inches above the line, and the other half below.
- Take photos of each combination to compare your final options.
5. Hang Your Artwork
You can now commit to your picture wall placement with the help of a hammer and some nails or picture hooks. For renters, one of our favourite landlord-friendly hacks is to use removable picture hooks or adhesive strips instead.
If you haven’t already placed paper templates on the wall, you can lightly mark the locations of the top corners of your frames with a ruler, pencil, and measuring tape.
During this process, it’s important to level each piece individually as well as in line with each other. Use a spirit level to ensure your gallery is perfectly aligned.
Tip: Place art gallery putty on the bottom corners of your frames to secure their position.
Keep in mind that you can simply interchange each artwork with a similar sized piece in future when it’s time to update your design. In the meantime, you can revel in the exceptional character you’ve cultivated in your home design, telling a story that is uniquely yours.