


How to Clean Tile Grout: A Guide
Dirty grout is a real eyesore, especially between white tiles. As tiles are often used in kitchens and bathrooms, ‘how to clean tile grout‘ is an issue many people deal with. Keeping your grout clean improves the look of your space and helps maintain better hygiene. So, what’s the best way to tackle grimy grout, and how can you keep your tiles looking fresh for longer?
This guide walks you through the steps and includes helpful tips for removing stubborn stains and keeping your grout looking cleaner for years.
What You’ll Need for the Job
Gathering all the tools and materials you'll need before you start cleaning your grout is a good idea. Here’s a list of what to have on hand:
An old toothbrush and a nylon-bristled scrubbing brush
Disposable gloves and a bucket for cleaning
Grout cleaner spray, white vinegar, baking soda (bicarbonate of soda), and hydrogen peroxide
A vacuum cleaner
A cordless electric scrubber (optional)
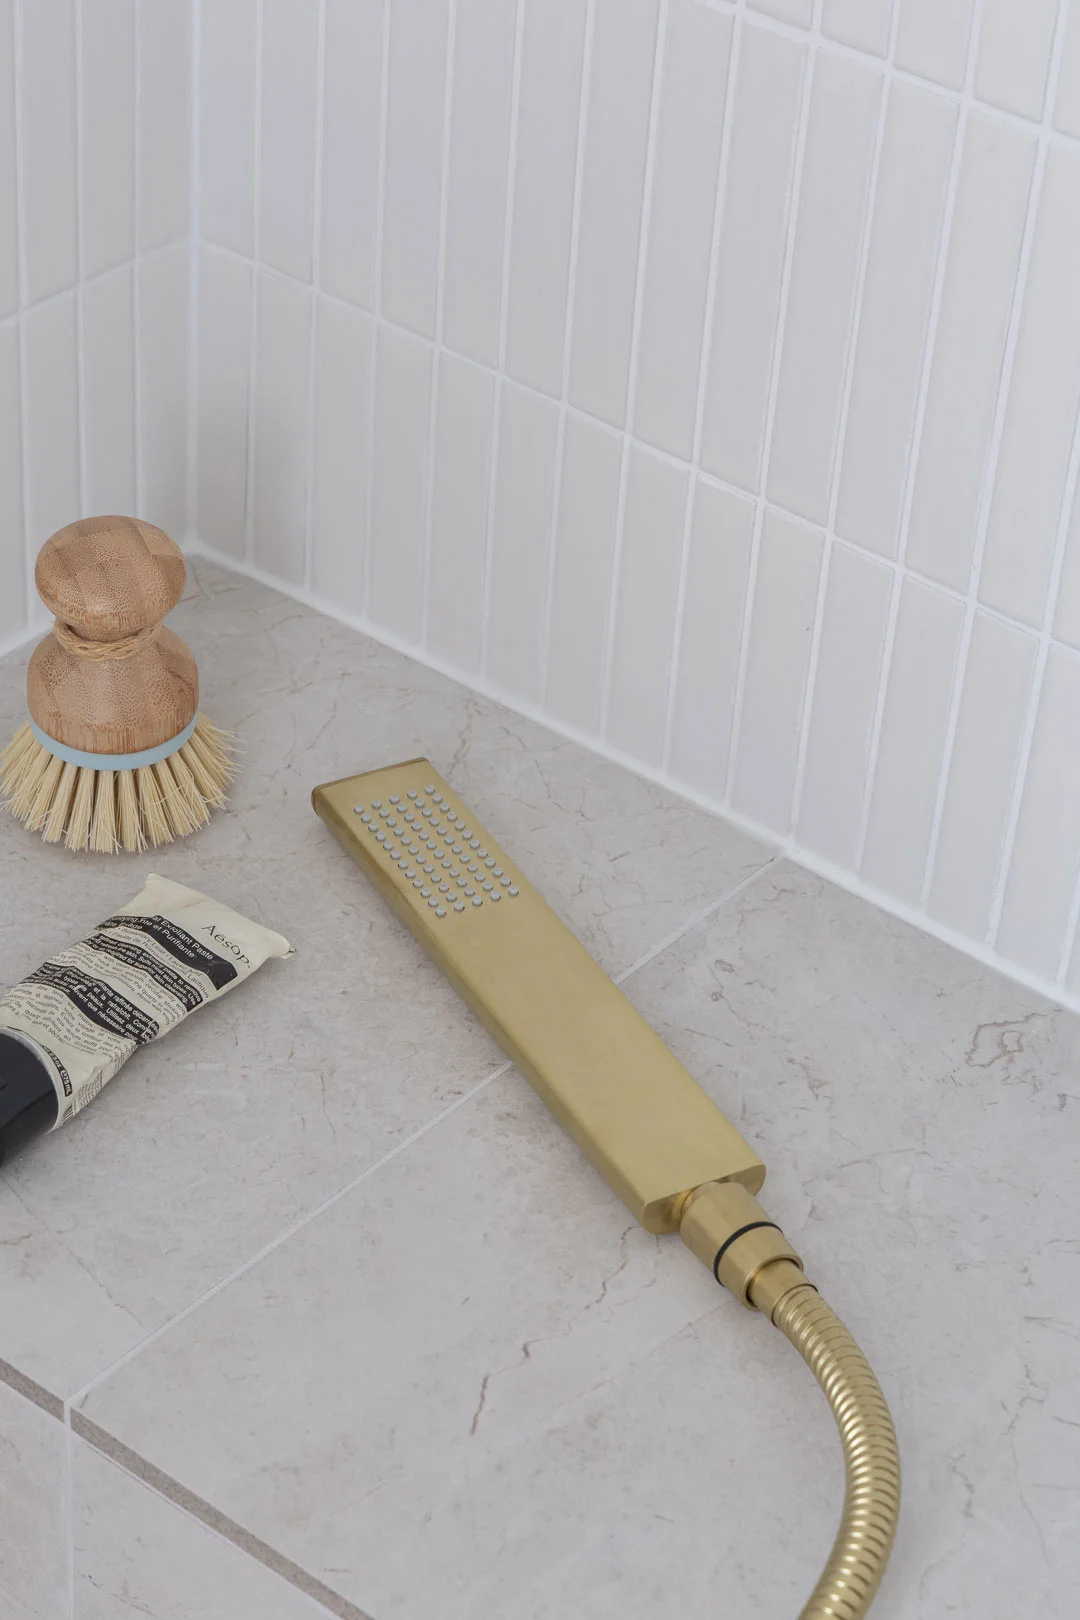
How to Clean Bathroom Shower Tile Grout
Prepare the Area
Start by hoovering the area to remove loose dust and dirt. This helps prevent debris from spreading as you clean the grout.
Create the Cleaning Mixture
Make your grout cleaner by mixing three parts baking soda with one part water to create a paste you can spread. For tougher stains, consider adding white vinegar or purchasing a store-bought grout cleaner specifically designed for tile surfaces.
Please note: Always follow the manufacturer's recommended cleaning instructions for your specific tile type. Avoid using vinegar on natural stone tiles like marble or limestone, as it can cause damage. It is also a good idea to consult the product description to determine if your tile is pre-sealed.
Apply the Grout Cleaner
Apply your chosen mixture directly to the grout lines using a spray bottle, sponge, brush, or gloved finger. Leave the solution to rest for 5–15 minutes to absorb and break down any embedded dirt and stains. If you’re using a specific store-bought grout cleaner, carefully follow the manufacturer’s guidelines and adjust application times accordingly.
Scrub the Grout
After letting the mixture sit, use a firm brush or an old toothbrush to scrub the grout lines in a circular motion. Be patient with high-traffic areas or places with visible discolouration. Don’t overlook edges or corner intersections where the tiles meet to ensure you achieve an even result. If the stains don’t lift easily, consider reapplying your solution and letting it rest for up to an hour before scrubbing the grout again.
Final Rinse
After scrubbing, rinse the area with warm water to wash away any remaining mixture and loosen dirt. Use a mop or clean cloth to dry the area thoroughly. If you have an extractor fan, turn it on or open your windows to ensure good ventilation for faster drying times.
Top Tips for Tougher Stains and Preventing Buildup
For stubborn stains, apply a paste of three parts baking soda and one part hydrogen peroxide. The peroxide releases oxygen ions that help lift even the toughest grime.
- For a more intensive clean, consider using a steam cleaner.
- Always spot-test harsh products first to avoid damaging your tiles.
Tile Cleaning Tips After Grouting
Regular maintenance is key to keeping grout looking fresh, especially after it's been newly applied.
Follow these recommended points to prevent the build-up:
- Keep your grout clean regularly to stop it from discolouring.
- Apply grout sealant every 6–12 months to protect against moisture and staining.
- Use pH-neutral cleaners to preserve grout integrity.
- Avoid harsh chemicals, which can cause grout to deteriorate.
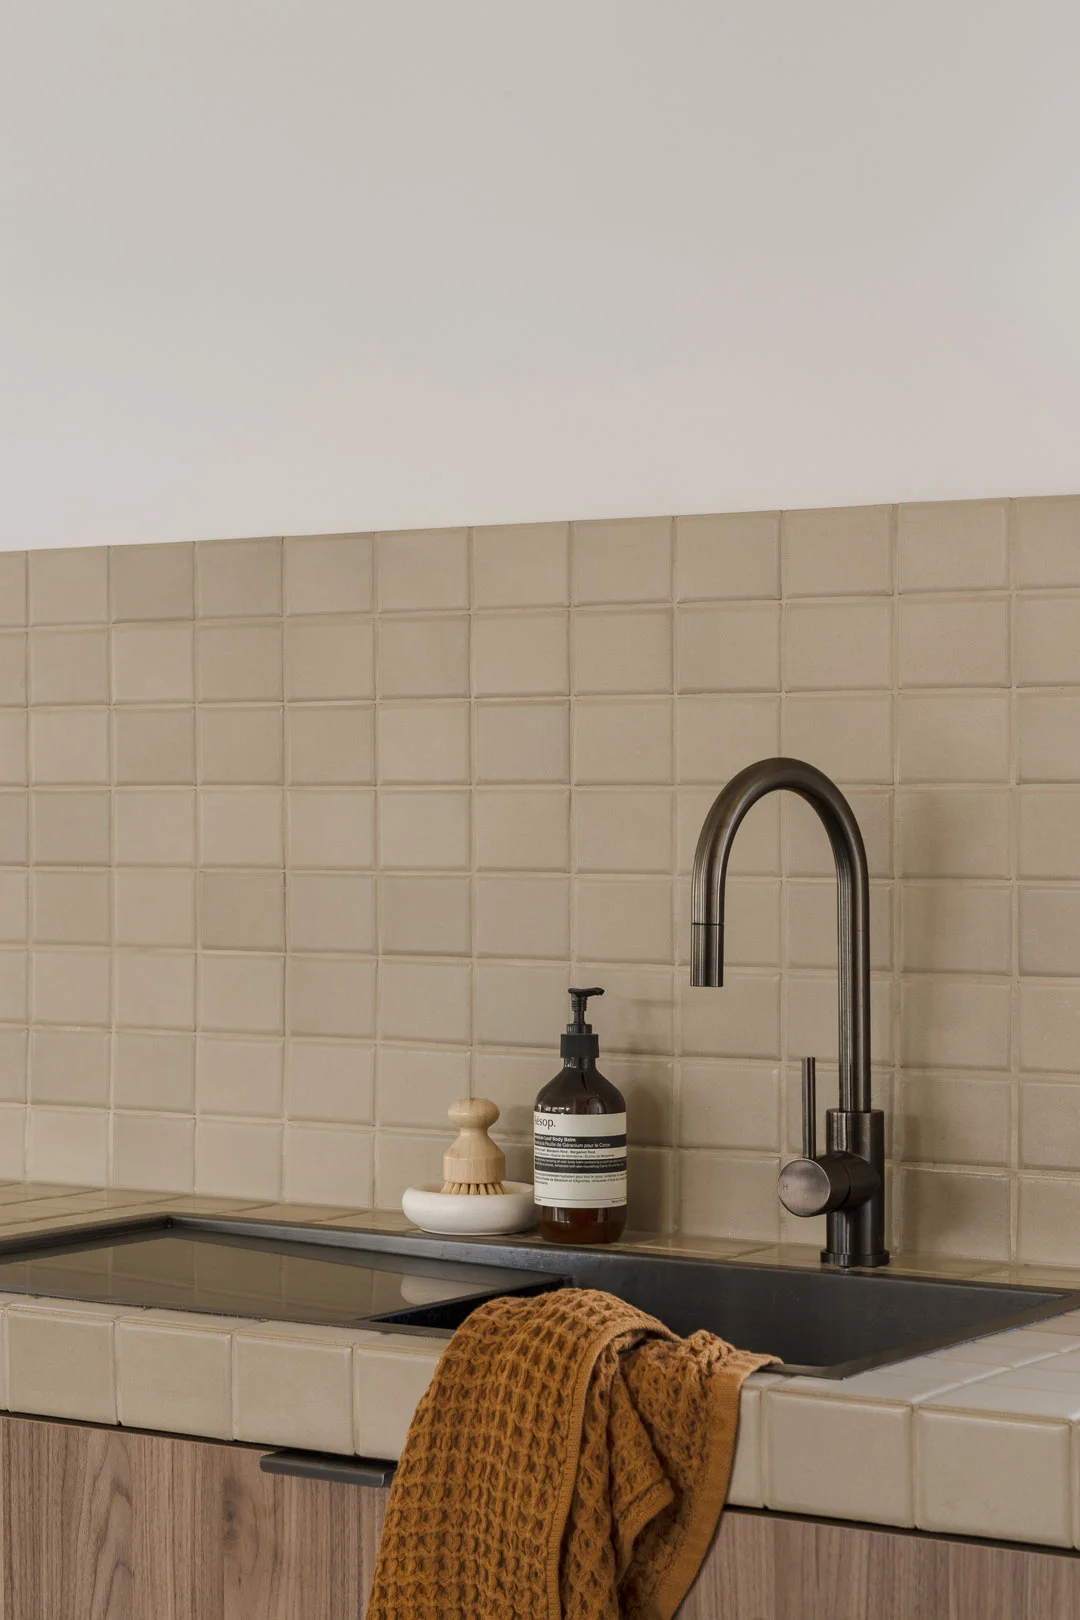
- For kitchen backsplashes, promptly wipe away sauce or oil spills to prevent staining and buildup.
Avoid These Grout-Cleaning Mistakes
- Avoid harsh acidic cleaners to protect your grout from eroding over time.
- Avoid metal brushes as they can scratch or damage grout.
- Clean your tiles regularly to prevent dirt buildup, making future cleaning harder and less effective.
After other tile-centric insights? Explore these blogs: