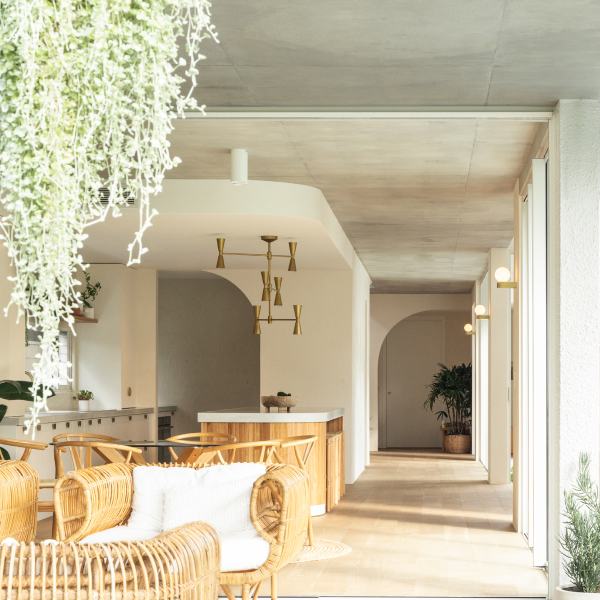


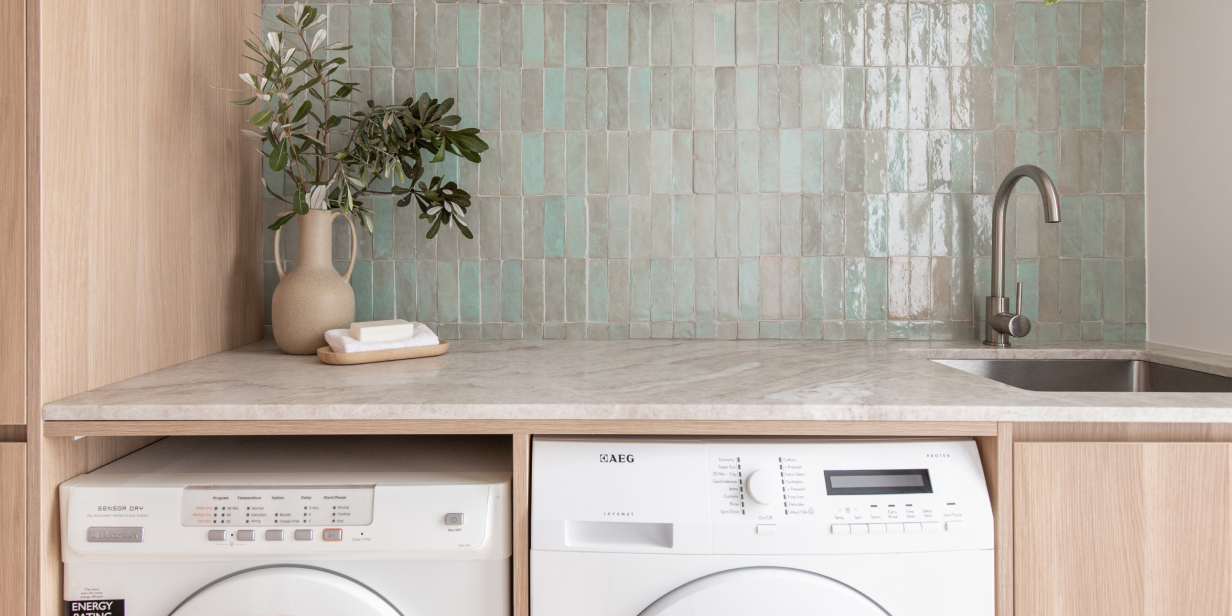
8 Walk-In Shower Ideas for a Splash of Inspiration
The concept of walk-in showers has revolutionised modern bathroom design. Their layout echoes a love of seamless minimalism — omitting entry ledges, shower curtains, and doors. Open shower design is a given in most new builds, with homeowners desiring the clean aesthetic of open-plan rooms, equalling fewer crannies to clean, heightened accessibility, and space efficiency.
As this style advocates for ultimate freedom, the configuration and colour options are essentially endless. We’ve brainstormed 8 walk-in shower ideas to help get you started with your design, focusing on elements that can make this space a standout.
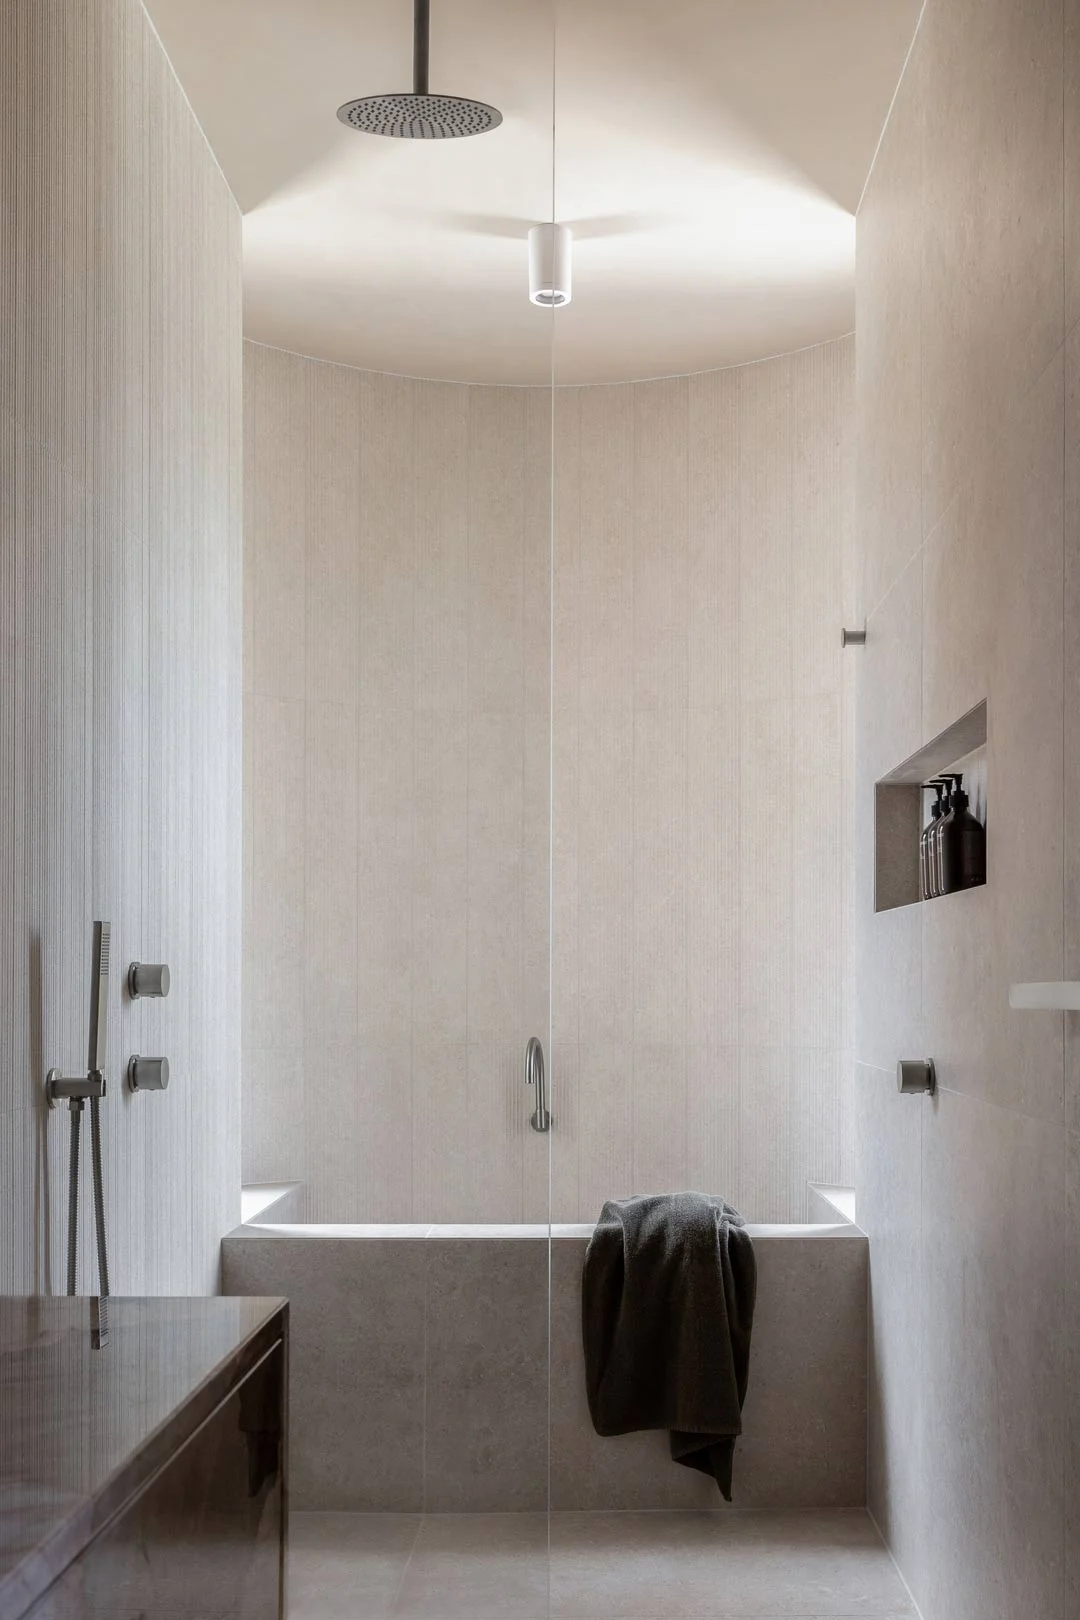
1. Arched Walk-In Shower
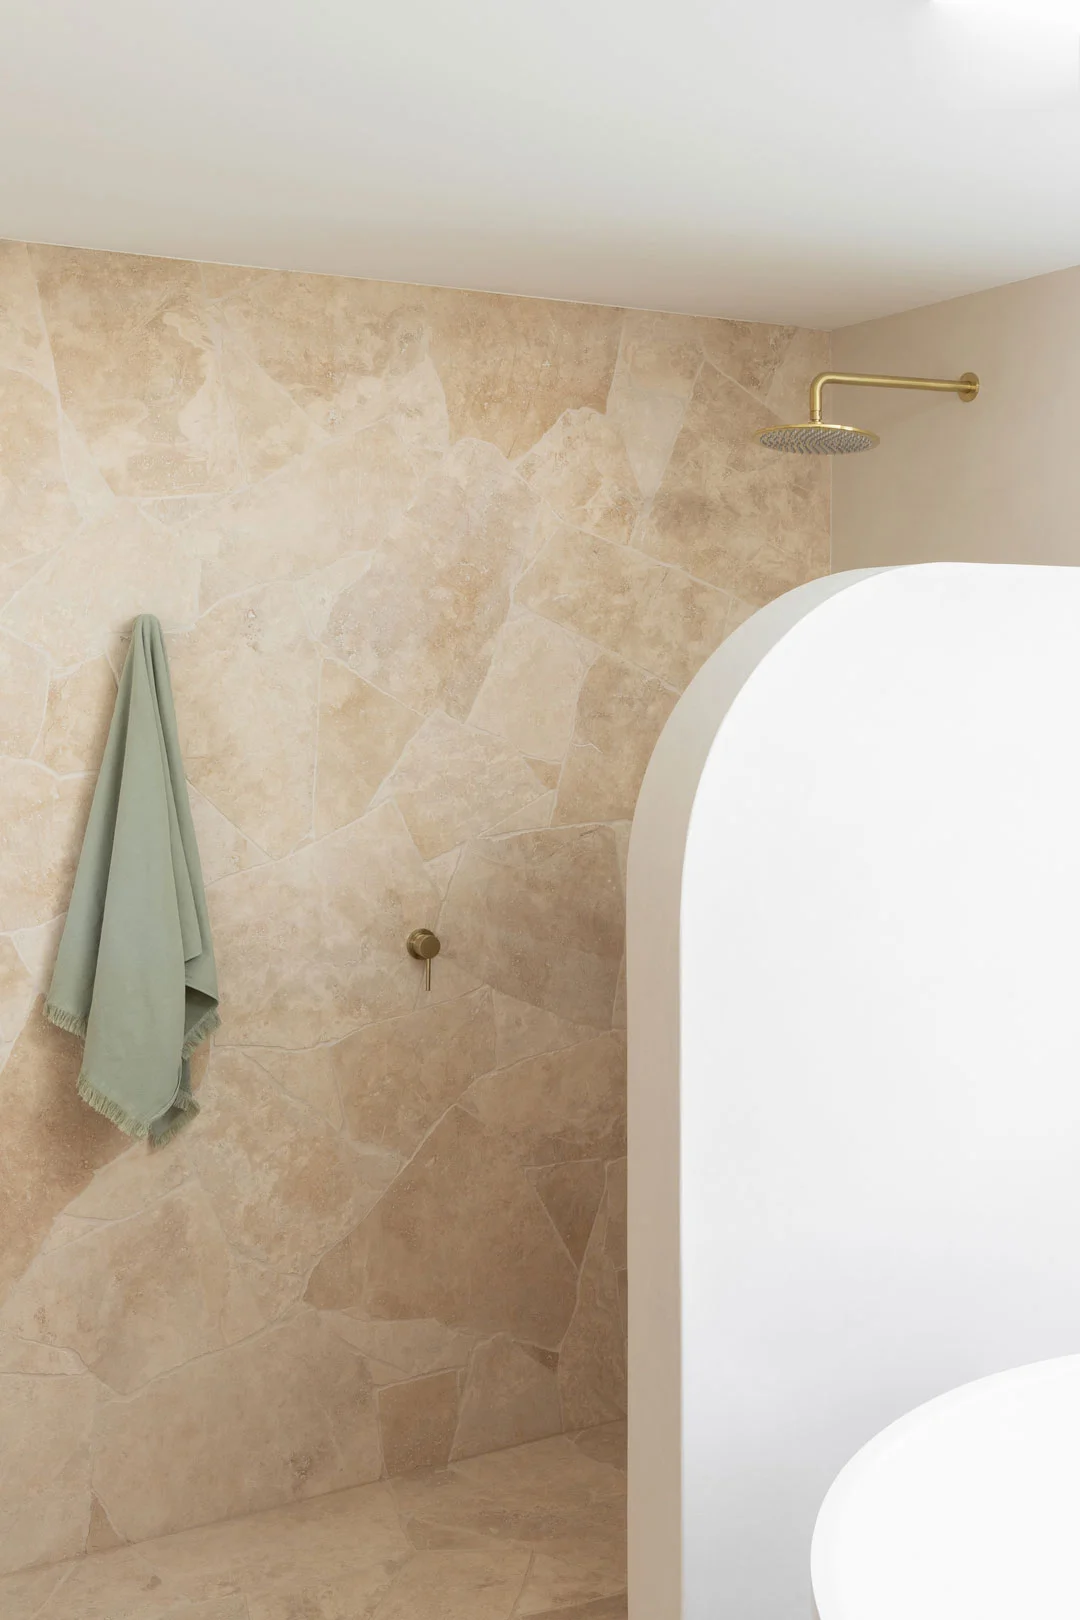
Stepping into an arched walk-in shower is a cocooning experience. The graceful organic shapes nod to historical architectural motifs and provide your daily routine with a touch of relaxation and elegance. Whether you opt for an arched entrance for your doorless shower or an arched ceiling, this is one of those walk-in shower ideas that will ensure your oasis feels grand.
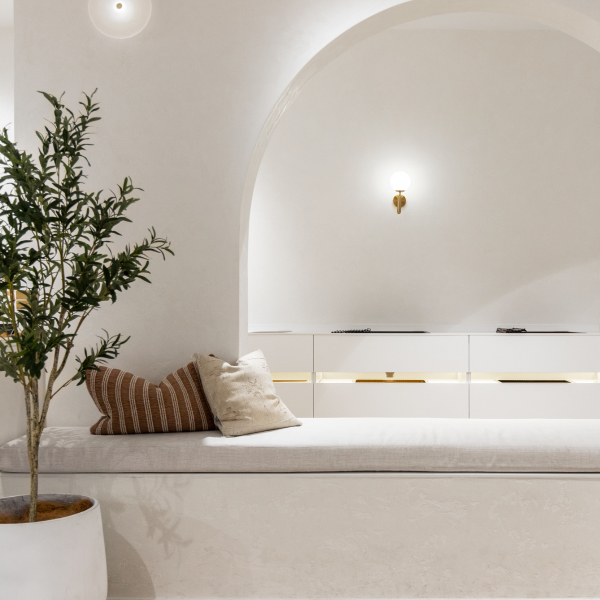
2. Doorless Shower With Bench
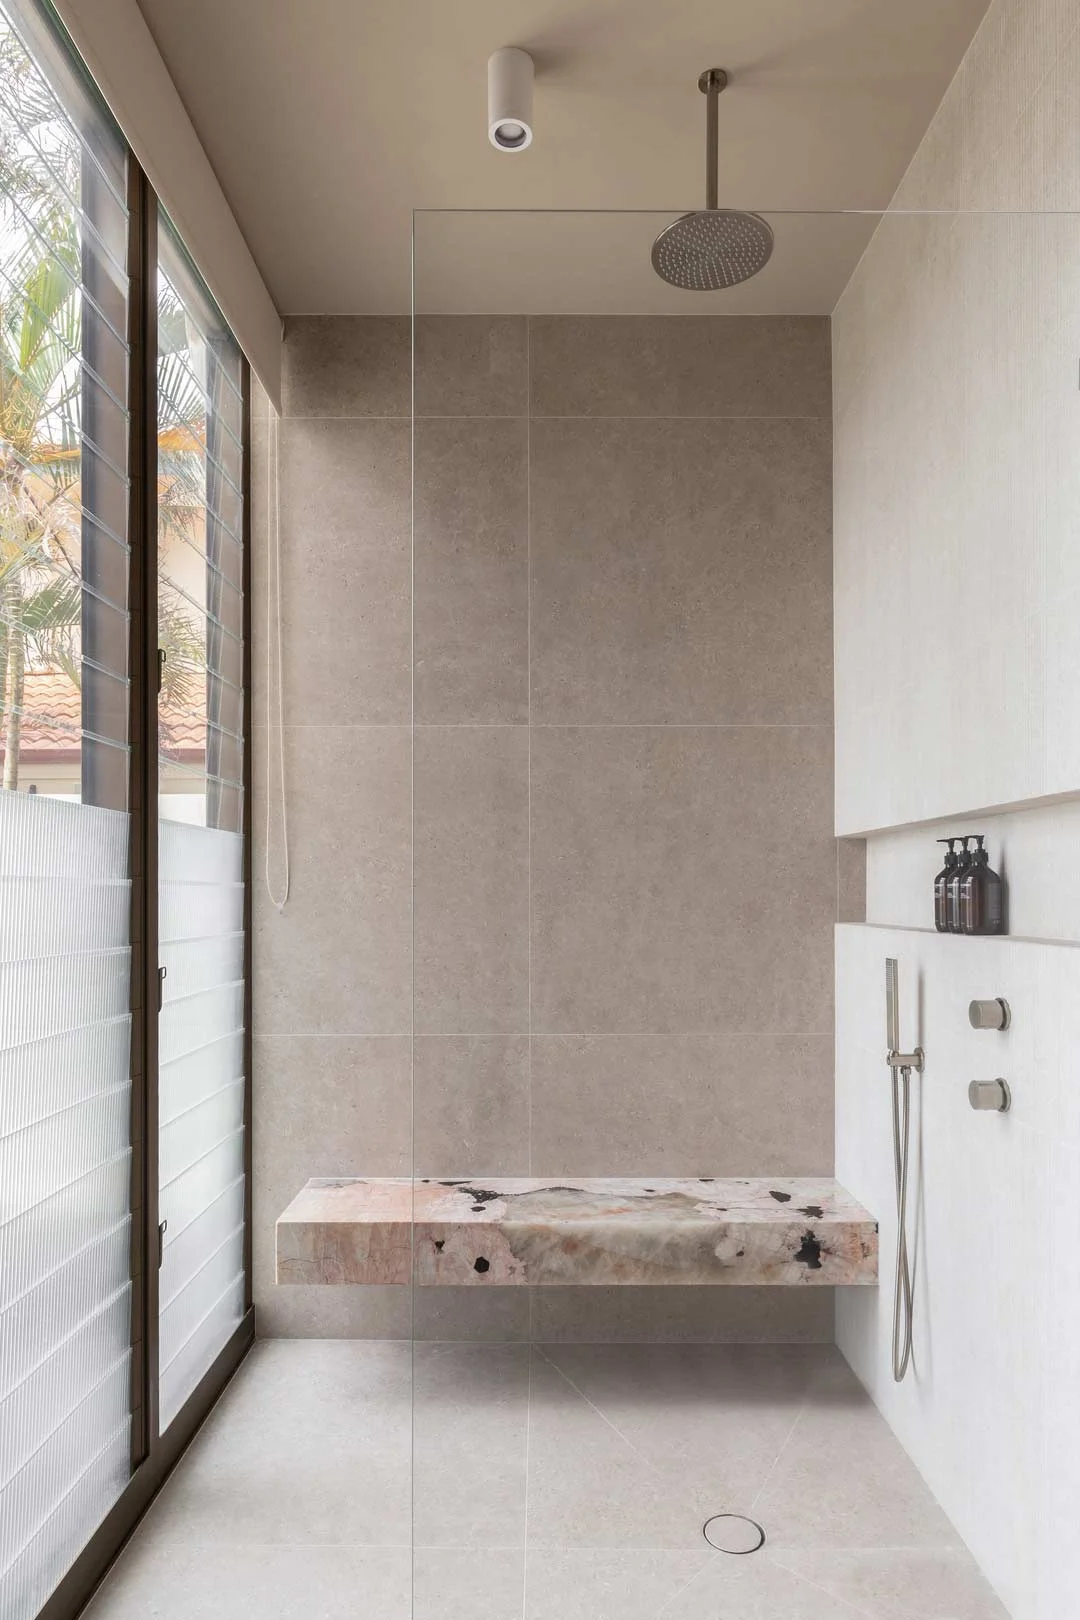
Walk-in showers may omit doors and ledges, but you can create a new sense of comfort by including a built-in bench. This addition is the epitome of luxury, accessibility, and enhanced safety. It makes your shower feel like a spa and also provides a ledge for those with mobility challenges to bathe more comfortability.
3. Black Open Shower Design

Bring boldness and sophistication to your open shower design with a black palette. The fashionable tone has an absence of light, which can feel extremely relaxing on the eyes — complementing your wind-down time wonderfully. Black walk-in shower tile ideas include glossy black subway tiles with brushed brass fixtures for a classic scheme, or matte large-format tiles with brushed gunmetal for a mix of textures.
4. Shower Dropper Centrepiece
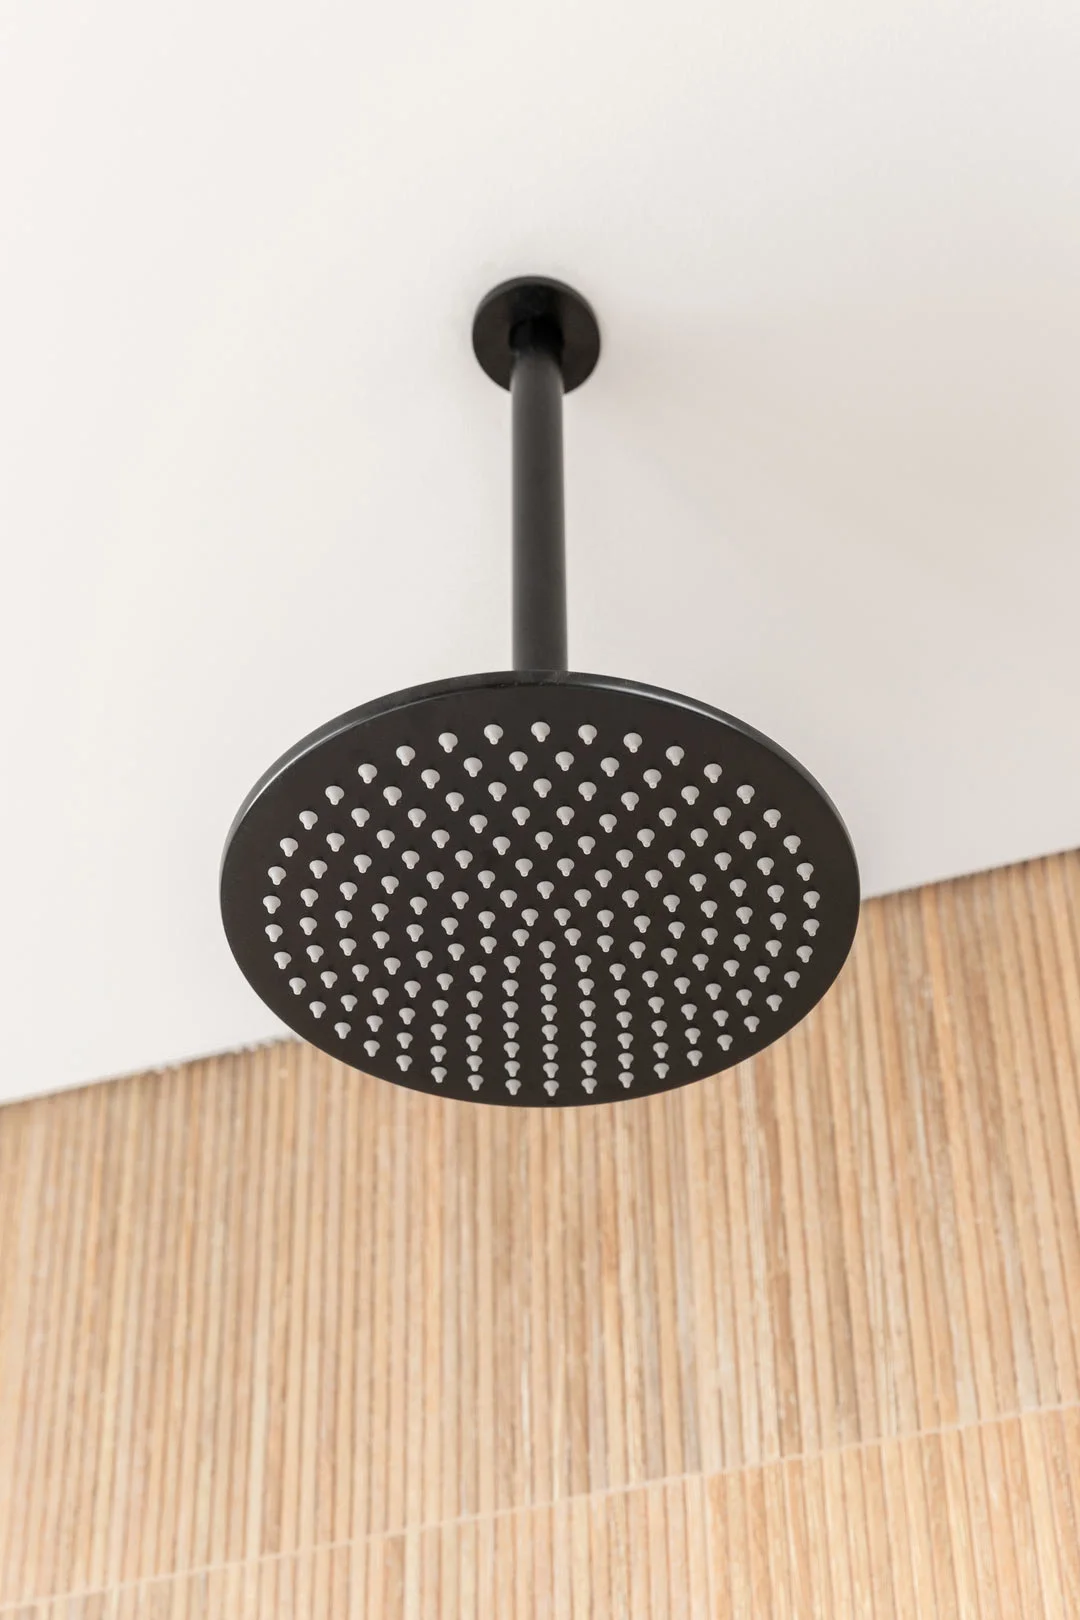
Emphasising your doorless shower can be simplified by showcasing what’s already required — your fixtures. Transform a small space into a standout and choose a shower dropper with a rain shower head. It draws attention to the ceiling by descending down and directing the eye around the full scope of your open shower. If you have a lighter scheme, try matte black fixtures for full contrast and white fixtures for the reverse.
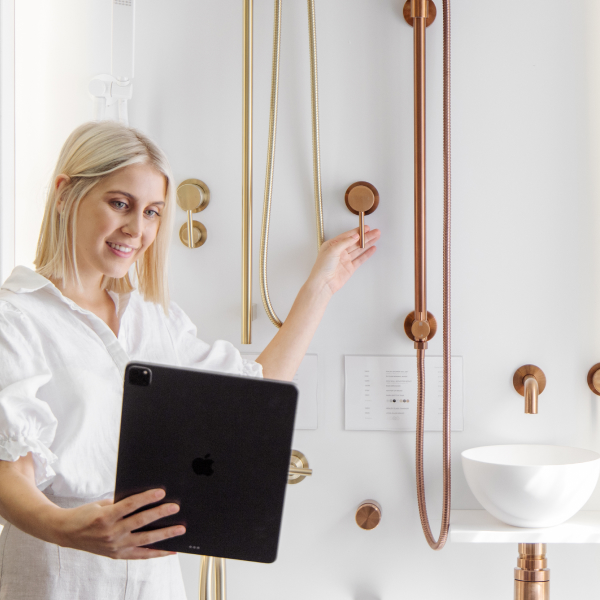
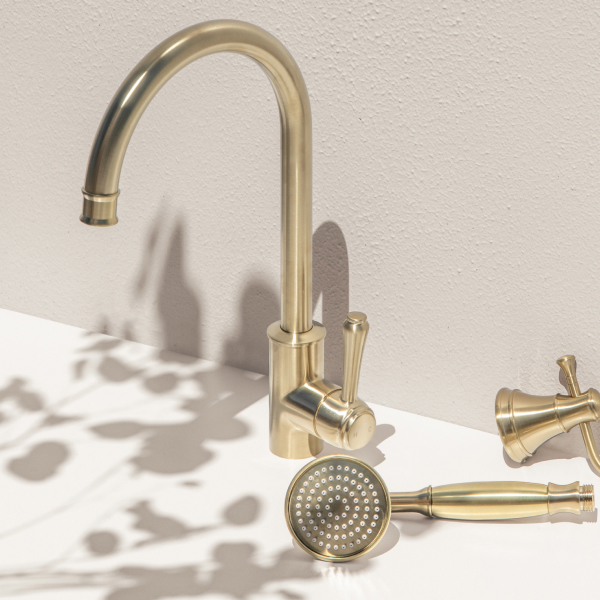
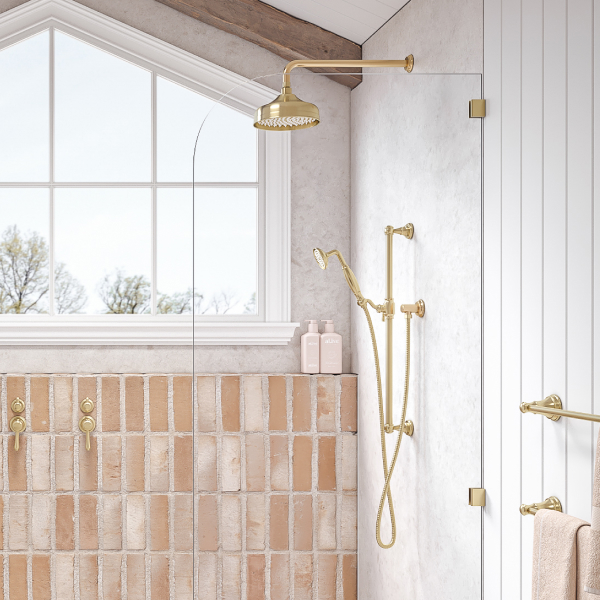
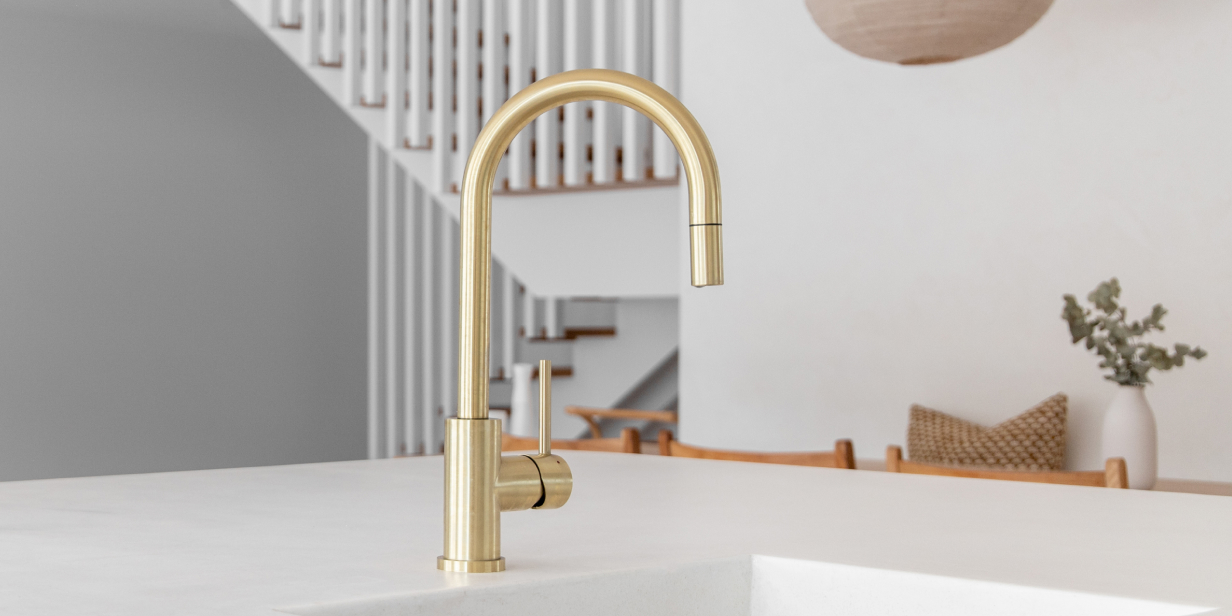
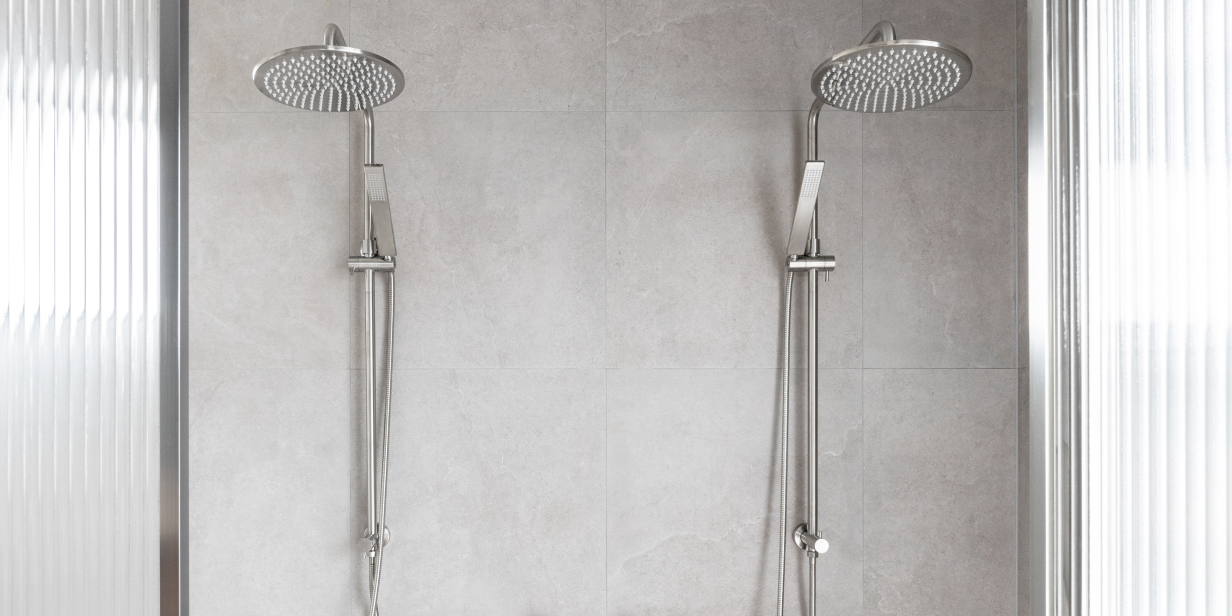
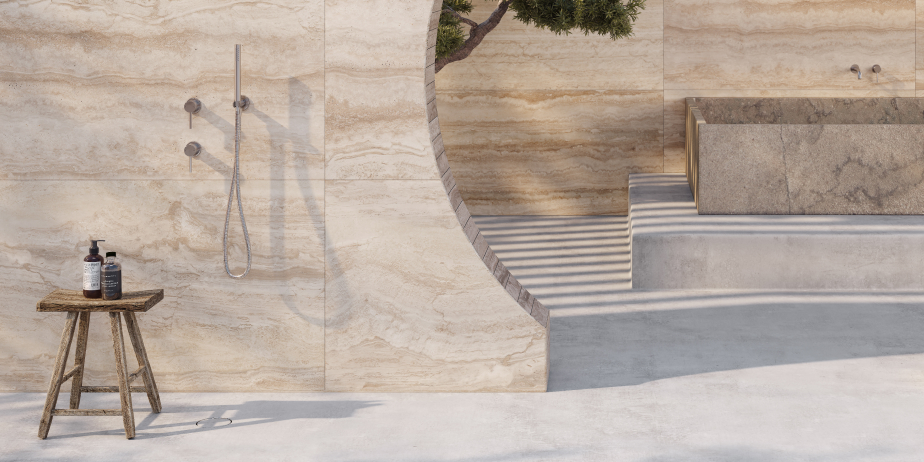
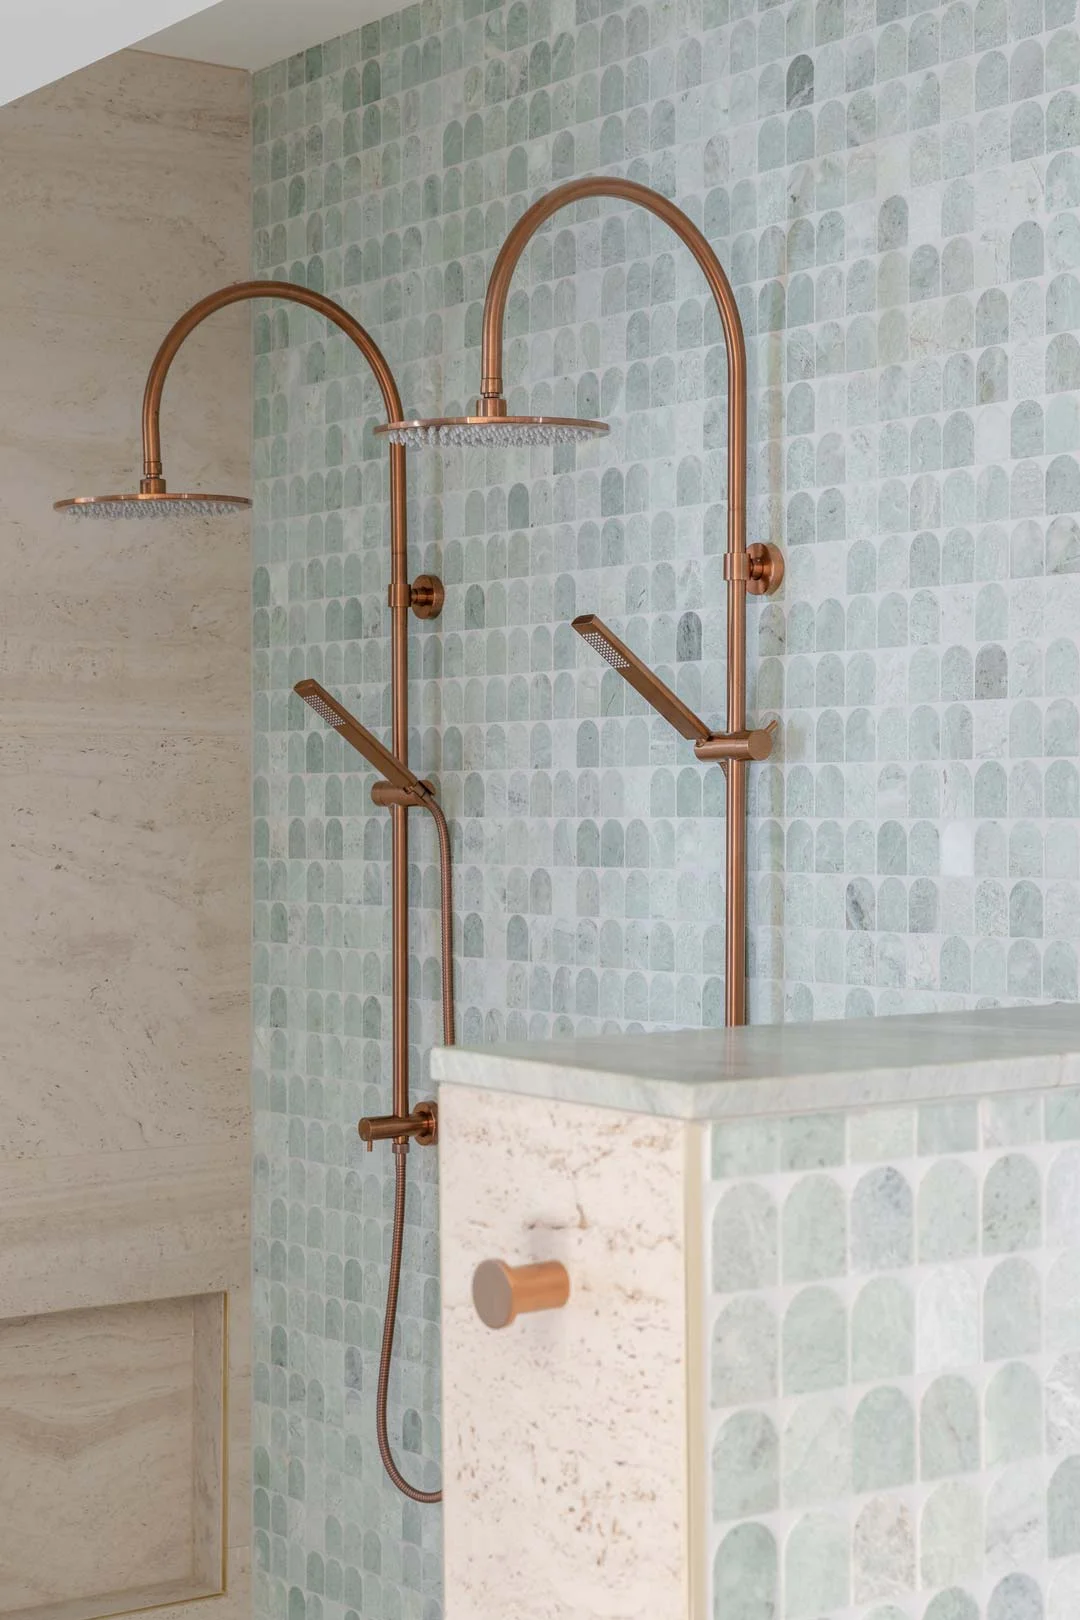
5. Double Shower Fixtures

Double shower fixtures are the ultimate couple’s retreat. It enhances an air of luxury and convenience in your walk-in shower, as you can drift effortlessly under your own shower head. For a minimal visual look choose your fixtures separately, such as the shower head, arm, and mixer to place where you like. To simplify your selections, opt for an all-in-one shower rail set.
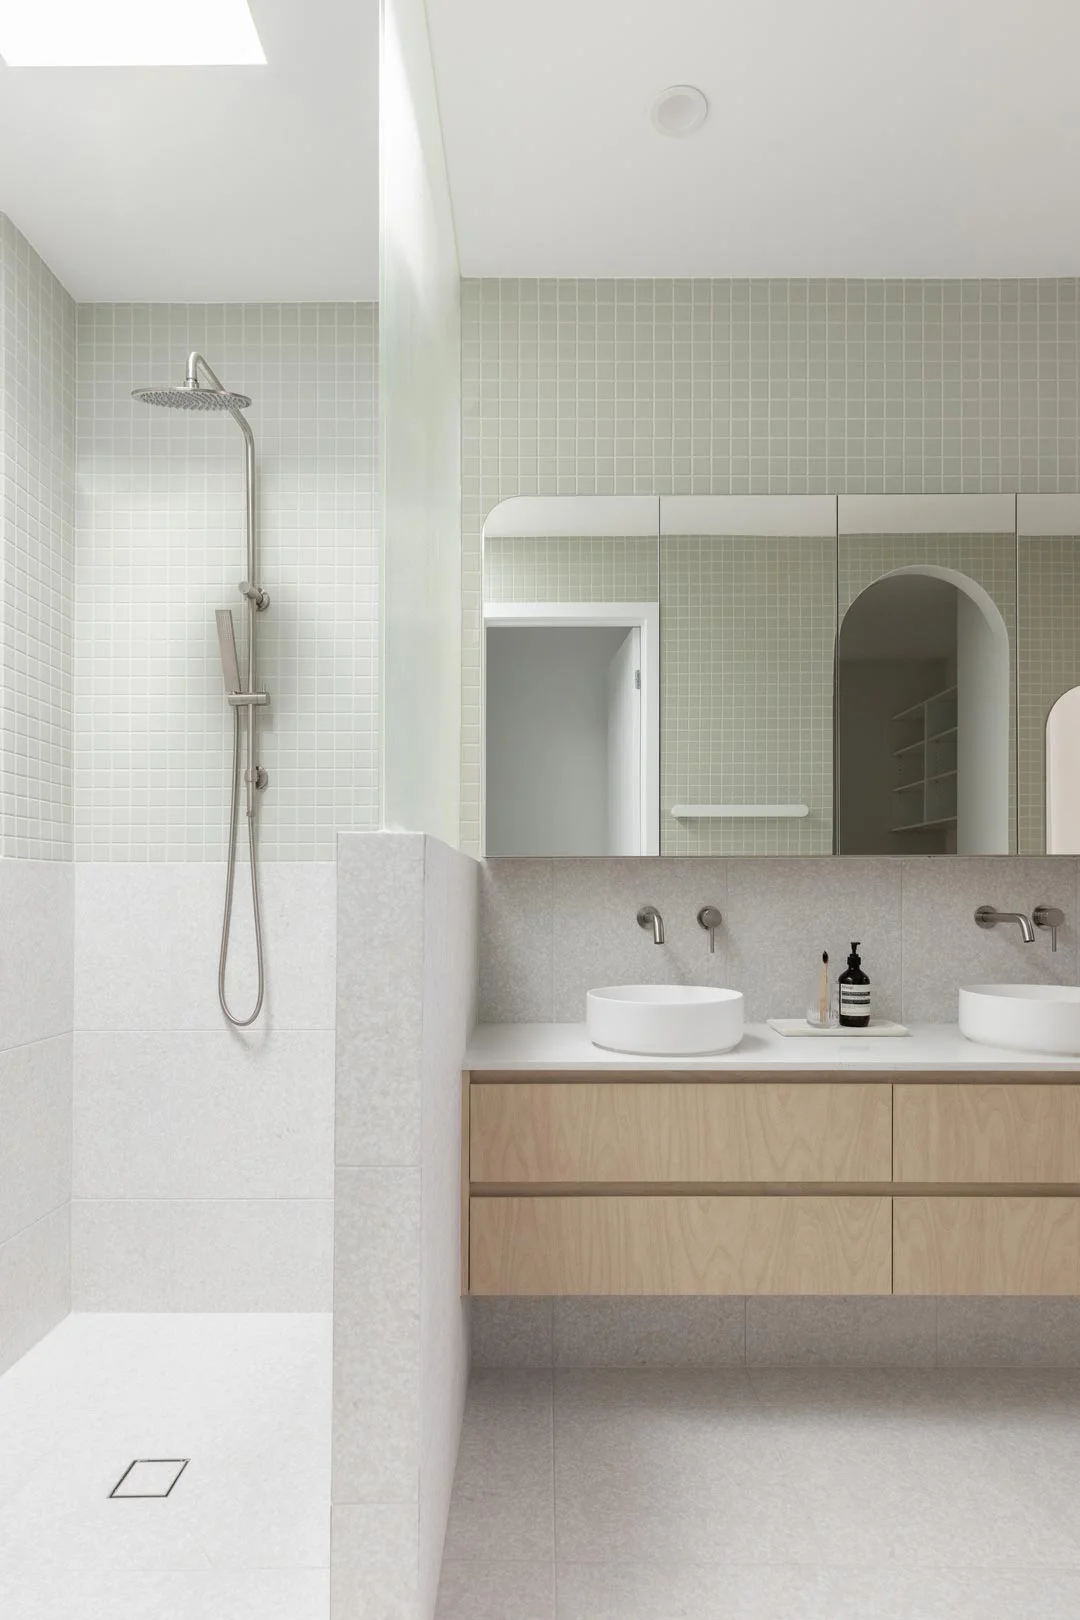
6. Walk-In Shower With Skylight
Let your walk-in shower take centre stage by harnessing mother nature’s best spotlight — the sun. Place a large skylight right above your open shower to bring the benefits of natural light straight into your bathroom. Not only can you cloud or star watch, the panes of sunshine that chop and change throughout the day create transient geometric shapes in your space — adding an exceptionally unique design element.
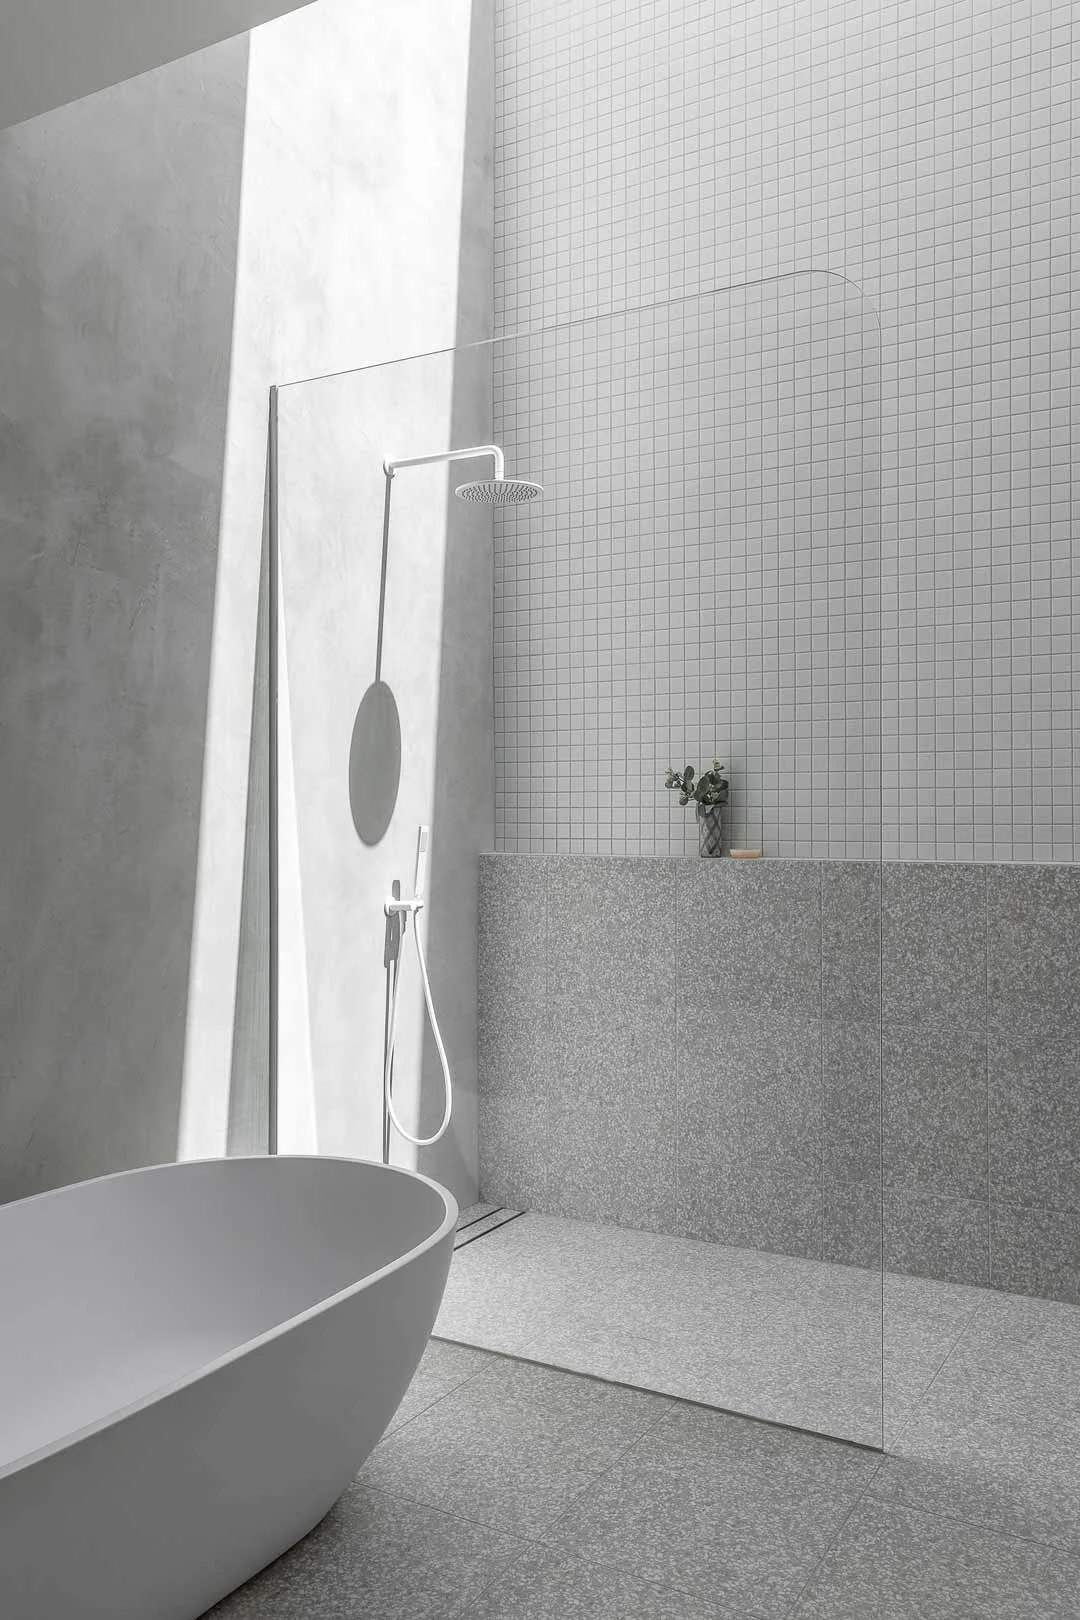
7. Stylish Privacy Wall
Keep your space open and retain an element of seclusion with a strategically placed privacy wall. This is a barrier that doesn’t entirely shut off an area but blocks a specific part of your shower from immediate view. Install your privacy wall in front of your shower fixtures to give yourself privacy, and in a material that matches the rest of your design, such as rendered concrete, tiles, or in a cohesive colour. If you want transparency but need to prevent water splashes from entering other parts of your bathroom, choose glass instead.
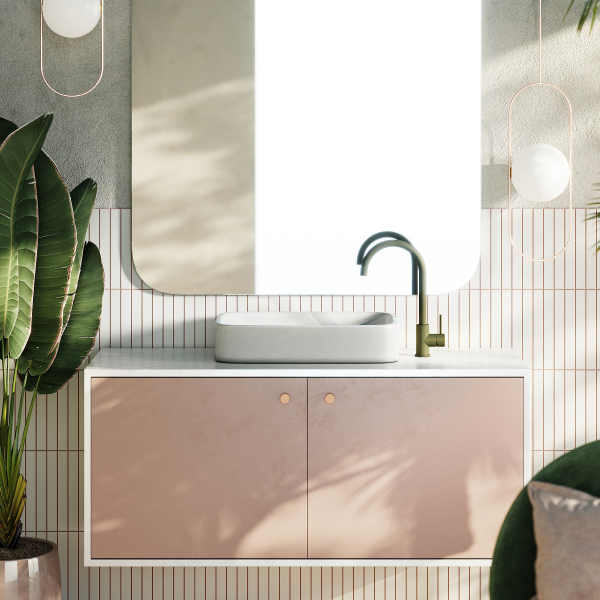
8. Accent Tile in Doorless Shower
Express your wildest creative dreams with this doorless walk-in shower idea. Accent tiles can be as eccentric or uniform as you like, allowing you to introduce patterns and colours to emphasise your open shower as a deserved focal point. If you want to adorn your walls, you can place tiles on one wall, all around the shower, halfway up or down the wall, or framing lines around a certain section. To give your eyes something to look down upon when showering, transform your floor space into a visual hub of energy and place your accents there.
Walk-in showers allow you to design in line with your wants and needs in a very particular way. They are more readily customisable, space-efficient, and accessible, so you can upgrade your daily routine to promote either end of the style and practicality spectrum — in tandem. See how our 8 walk-in shower ideas can give your next shower project renewed direction or inspiration, and share your designs with us on Instagram!
Looking for more bathroom design ideas? Head to our archive of bathroom articles to find more inspiration for your next project.


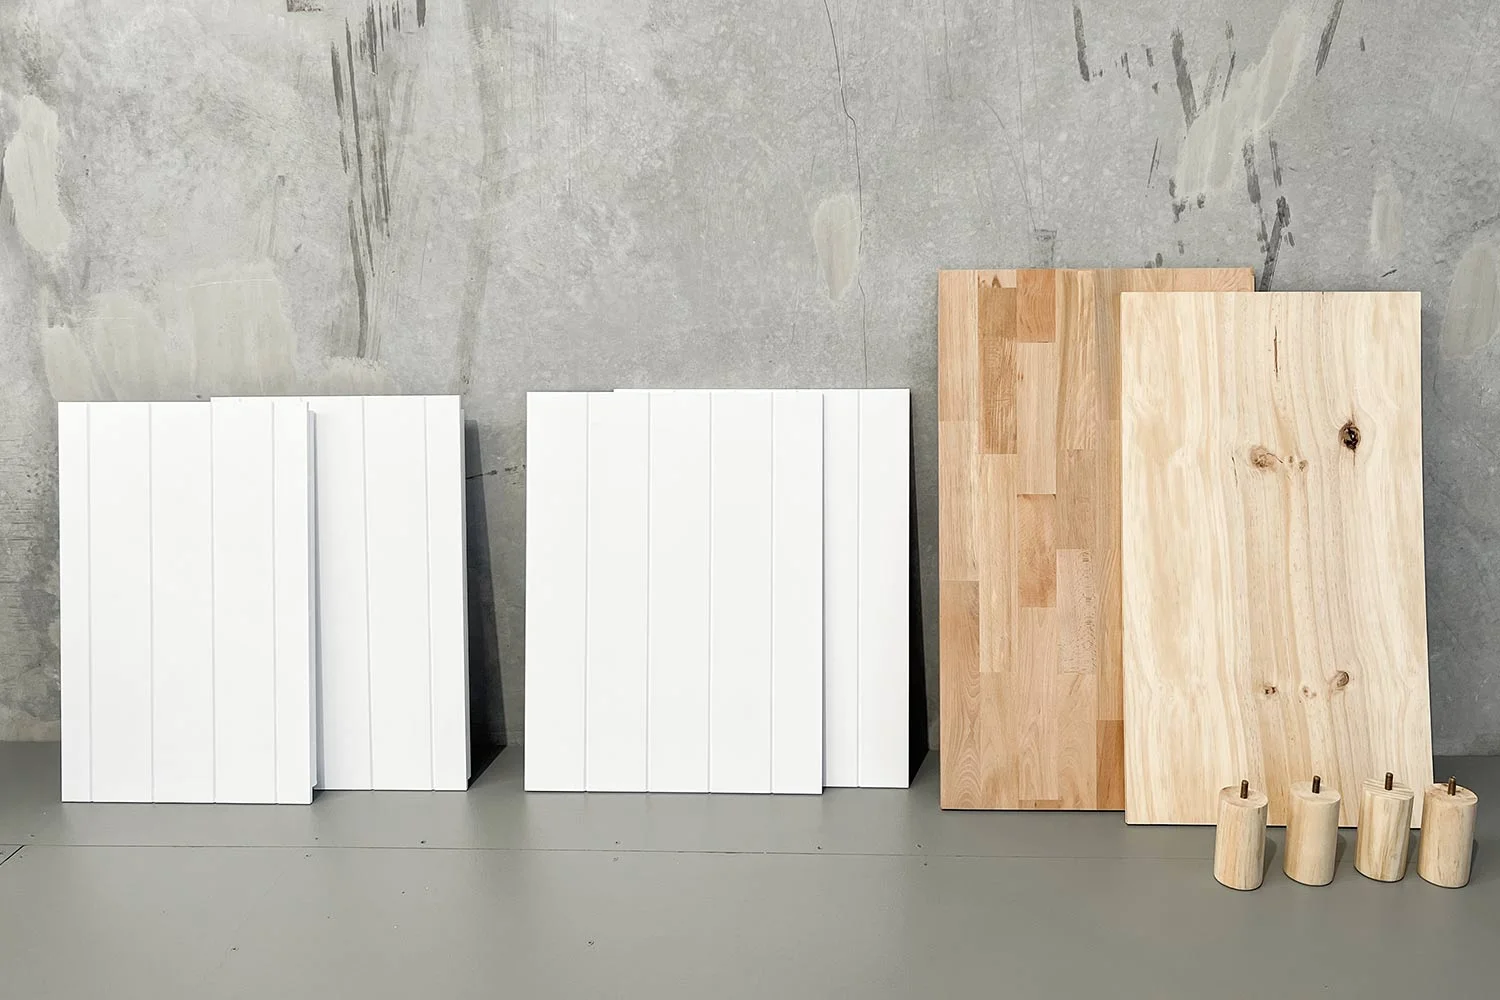
1. Remove doors from the existing vanity and set them aside.
2. Cut the plywood base, VJ panels, and timber countertop to size. Our team helped us cut materials, but you can ask your local hardware store to cut most pieces as long as you have your measurements beforehand.
3. Sand the cabinetry doors, plywood base, and timber countertop to prepare them for painting.
4. Apply the first coat of polyurethane to the timber countertop and legs.
5. Use liquid nails to glue two VJ panels onto the doors. Place weight on top of the doors and leave them overnight.
Day 2
1. In the morning, apply the second coat of polyurethane onto the timber countertop and legs.
2. Using the 3-in-1 paint, prime all VJ panels, including the finished doors.
3. Again using the paint, apply to the rest of the vanity.
4. In the afternoon, apply the second coat to vanity and panels.
Day 3


2. Drill the plywood into the undersurface of the sides to create the base.
3. While the vanity is upside down, glue VJ panels onto the sides. Remove door hinges if necessary so you can screw them back in without the weight of the doors.
4. Reinstall door hinges.


5. Drill four holes into the base of the vanity to prepare for the timber legs. Use a smaller drill bit first and adjust the hole size with a larger drill bit if necessary. Secure legs with nuts.
6. Flip vanity right way up and place timber counter on top.
7. Entering through the open back of the vanity, drill and attach the top to the vanity.
8. Install cabinetry handles. If you aren’t using the existing holes, purchase adjustable pulls that can be fitted to the holes. However, you will drill through the VJ panels regardless.
9. Drill a waste hole and seal it in place.
10. Install the mixer, creating plumbing holes as necessary.


And you’re done!
We found the DIY bathroom vanity upcycling process easier than initially thought, keeping a relatively pragmatic approach to our desired style — but of course each individual experience will be different. You might want to experiment with different colours, re-design an entire piece, or try different fixtures during your transformation.
We’re always interested in your creative pursuits, so if you have upcycled a piece of furniture using our products, make sure to tag or DM us on Instagram!
For more renovation inspiration, discover more topics on our blog.