


Our Guide to DIY Bathroom Vanity Upcycling


Crafted straight from your hands, DIY bathroom vanity upcycling can be a cost-effective answer to your desire for a renewed space. Take the chance at showcasing your creative side while effecting a more sustainable approach to design in your bathroom.
In this article, we share our very first bathroom vanity DIY makeover, documenting each step in the process to demonstrate the possibilities for your own. But to start, we will outline a list of tips and tricks we learned along the way to generate initial inspiration for your project.
DIY Bathroom Vanity Ideas and Tips
1. Assess and Plan Your DIY Bathroom Vanity
Take a walk around your current bathroom, or revise your future bathroom’s plans, and assess the space where the prospected DIY vanity will be. Consider the style, size, colour, materials, and bathroom fixtures you want to use when upcycling your bathroom vanity and ensure it will work cohesively in the space.
2. Prep the Surface to Restore Bathroom Vanity Beforehand
Before you start upcycling your bathroom vanity, carefully fix any holes or imperfections with filler and sand the surface to create a smooth texture. This is essential for vintage and second-hand units as they wear their history more obviously. Taking the time to manicure it a little before transformation will enhance the end product.
3. Select Waterproofing Finishes For Vanity Longevity
A DIY bathroom vanity needs to ensure that it can withstand a high-humidity environment. Selecting waterproof paints and primers gives your unit an extra level of protection that allows your hard work to be preserved long into the future.
4. Replacing Bathroom Vanity Handles for Instant Appeal
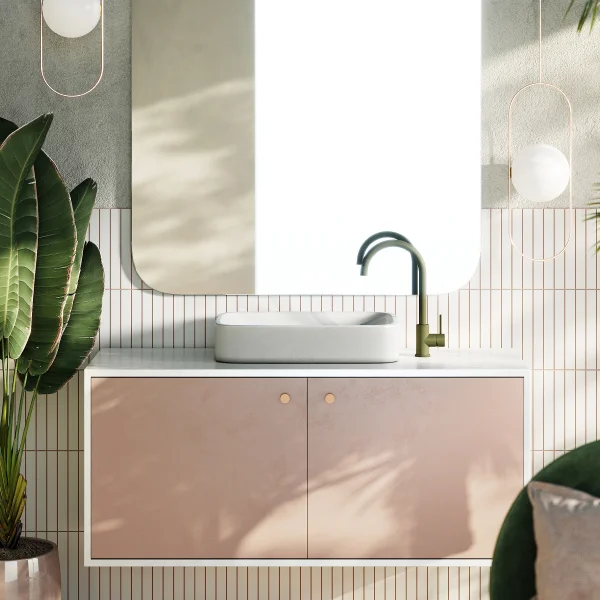
One of the easiest upcycled bathroom vanity ideas is replacing the existing cabinetry handles. Oftentimes, old vanities can have outdated knobs or pulls which influence the overarching aesthetic of the vanity cabinetry doors. Try half-moon pairs for an organic edge, or timber handles for a natural accent.
5. Bathroom Vanity Repurposed from Other Furniture
Encapsulate the full spirit of upcycling by transforming another furniture piece into a vanity! Sideboards, dressers, or standard cabinets have the potential to become the newest centrepiece in your bathroom. You’ll just have to take extra action cutting out holes for your plumbing.
6. Design Ideas for Bathroom Vanity DIY Makeover
If you’re thinking about painting your upcycled vanity, you can try out different techniques to achieve different effects, such as distressed paint, matte paint, or ombre. If textures pique your interest more, consider shaker, VJ, or tiled options.
Step-by-Step Guide to DIY Bathroom Vanity Upcycling
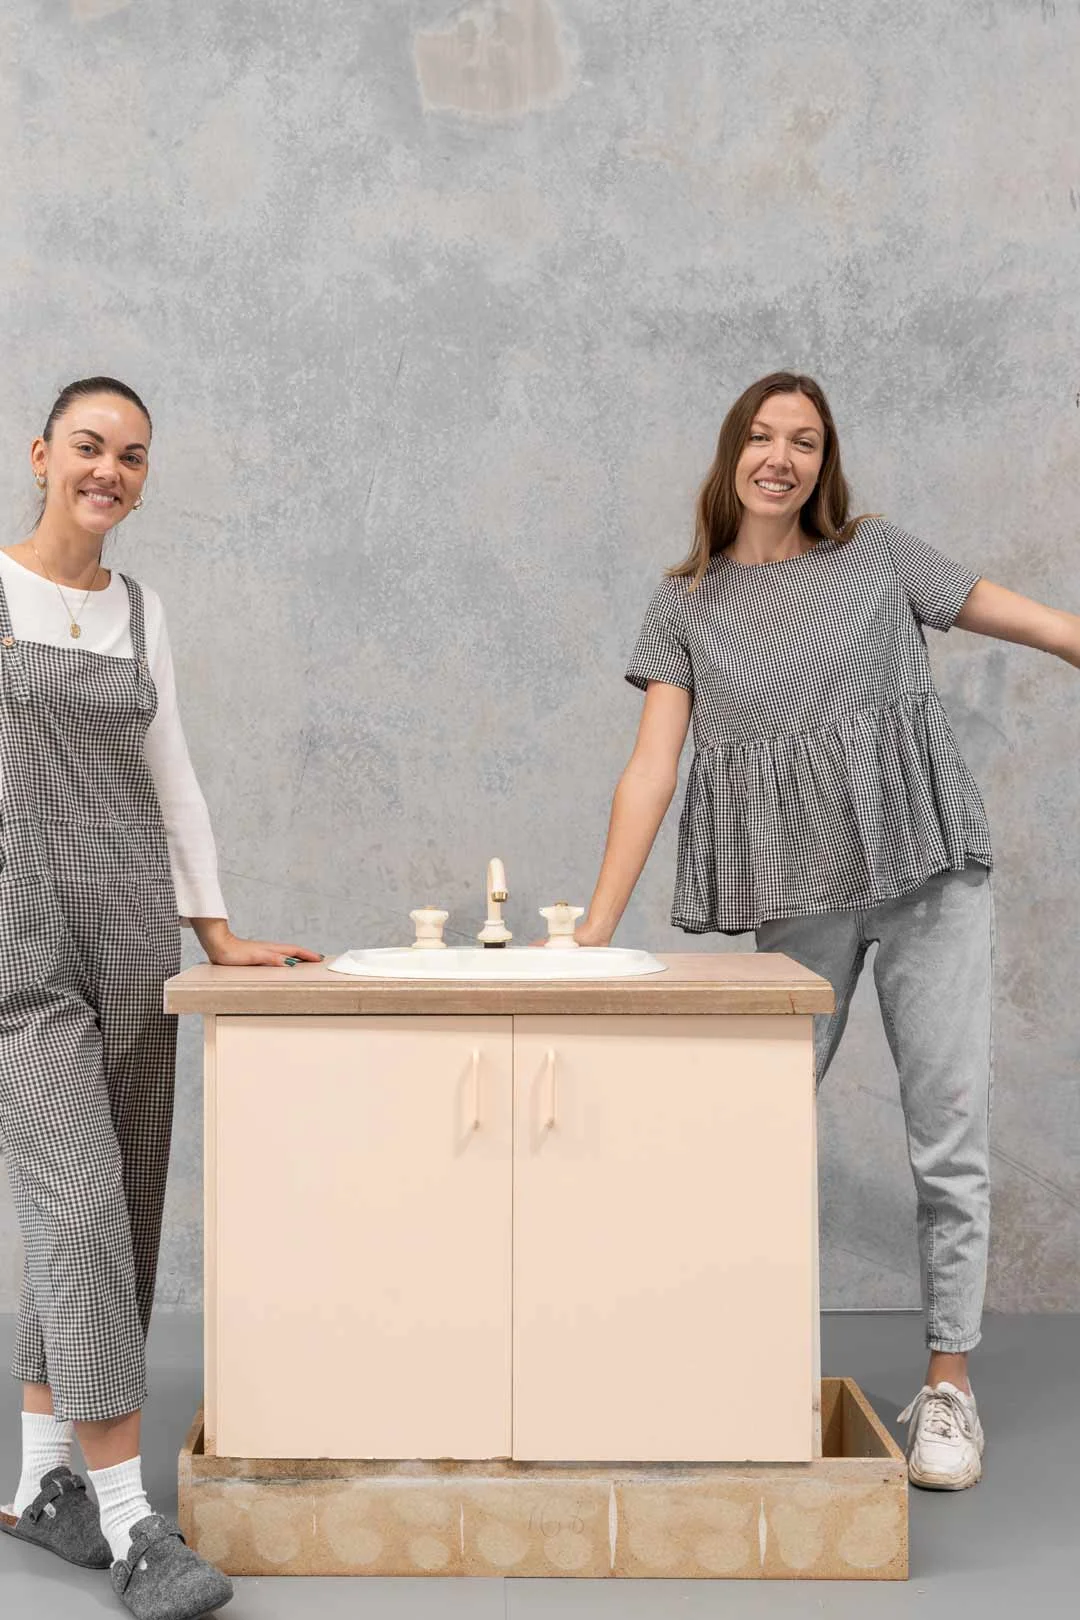
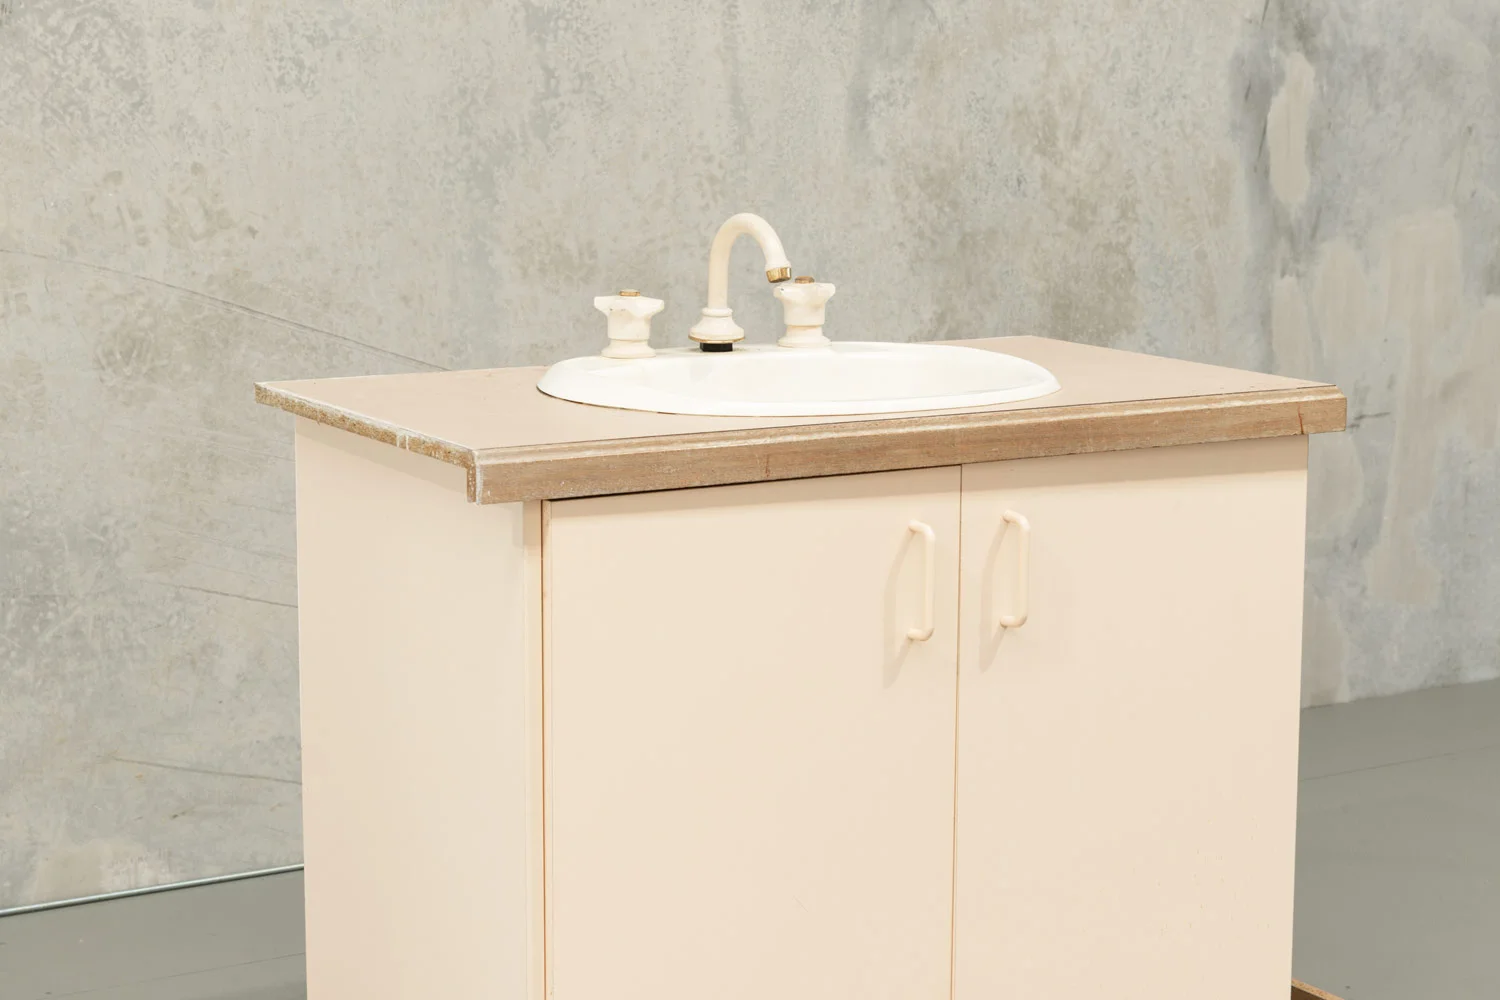
As a challenge, we undertook our very first bathroom vanity DIY makeover. Over three days, we transformed an old vanity unit we bought off Facebook Marketplace into an impressive coastal contemporary piece.
Below we list the materials, tools, preparations, and procedures used in the upcycling process.
Materials:
- 1 x old vanity unit ($30 off Facebook Marketplace)
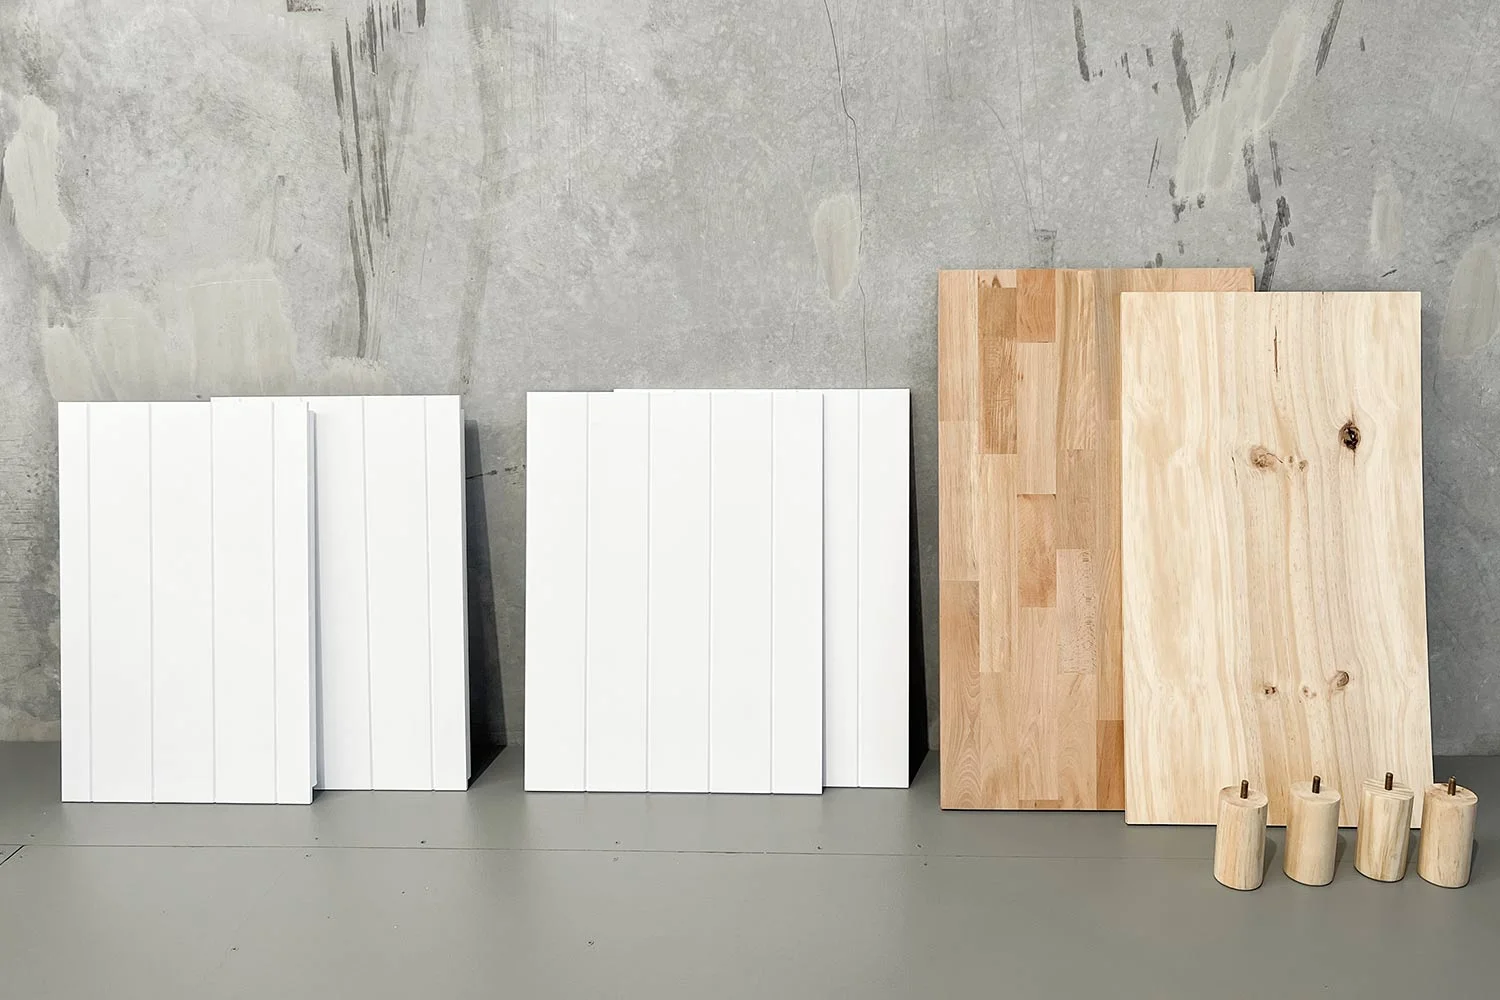
- 1 x plywood board for the vanity base (the one we purchased didn’t have one)
- 1 x thick timber slab for countertop
- 2 x VJ panels for sides and doors of vanity
- 4 x timber legs
- 2 x Tezra Cabinetry Pulls (can use our Modi Adjustable Cabinetry Pulls if you want to use existing holes)
- 4 x nuts for the legs
- 3-in-1 paint and prime (we used a white shade that included a base coat, waterproof, and colour)
- Polyurethane for waterproofing
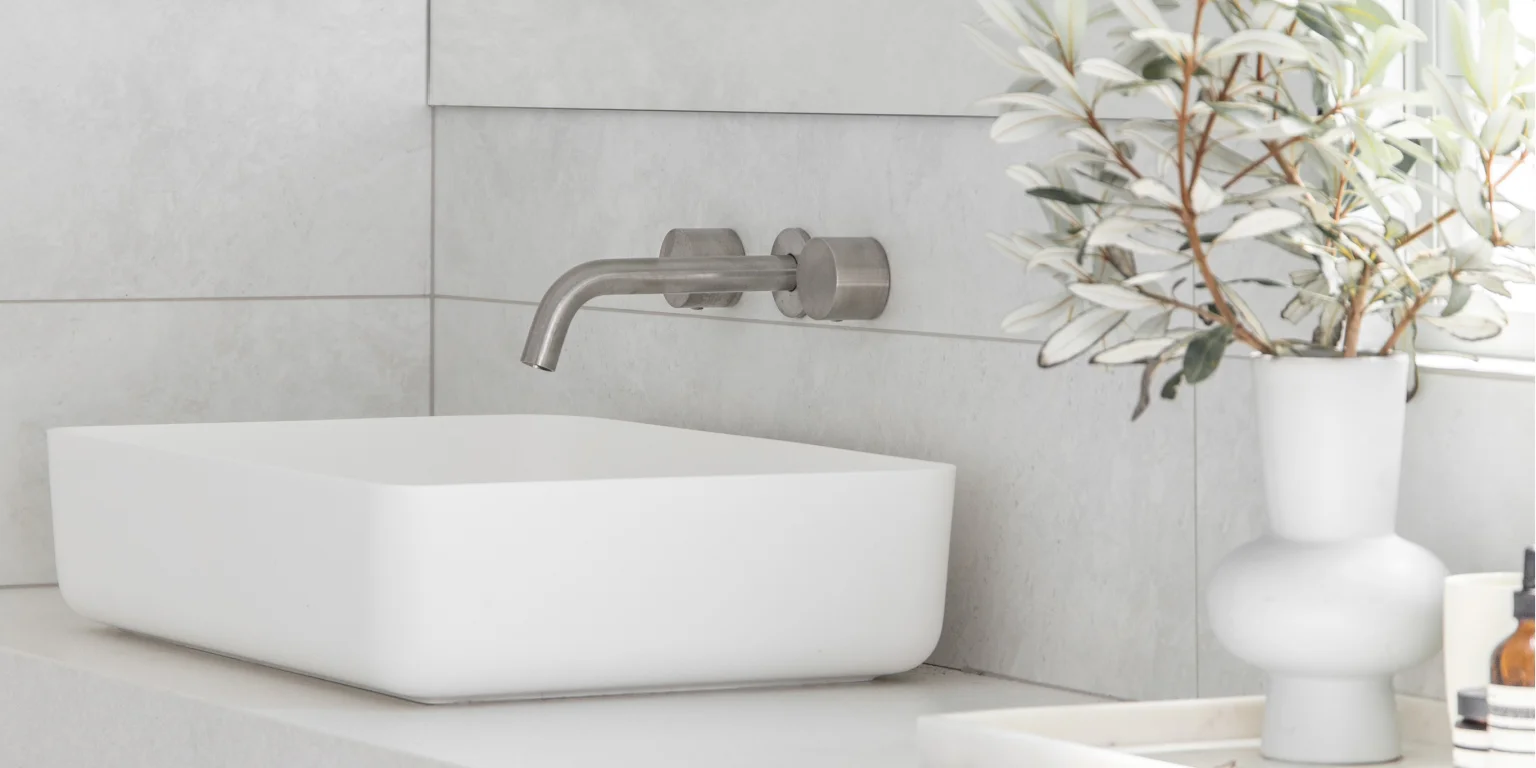
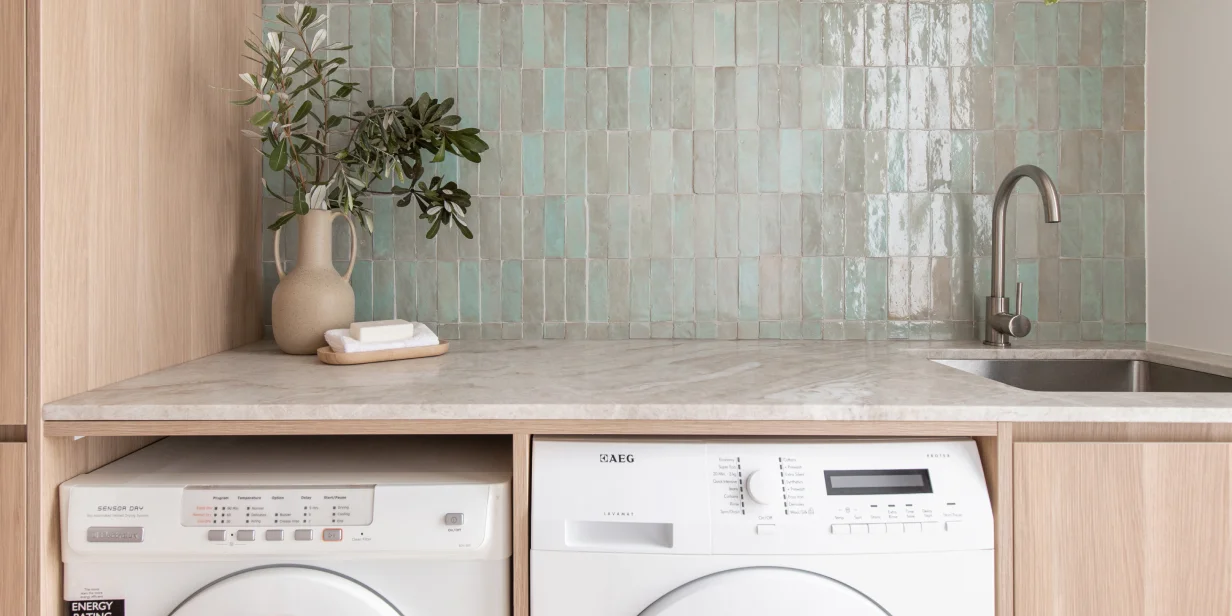
- 1 x Ivy Basin Sink
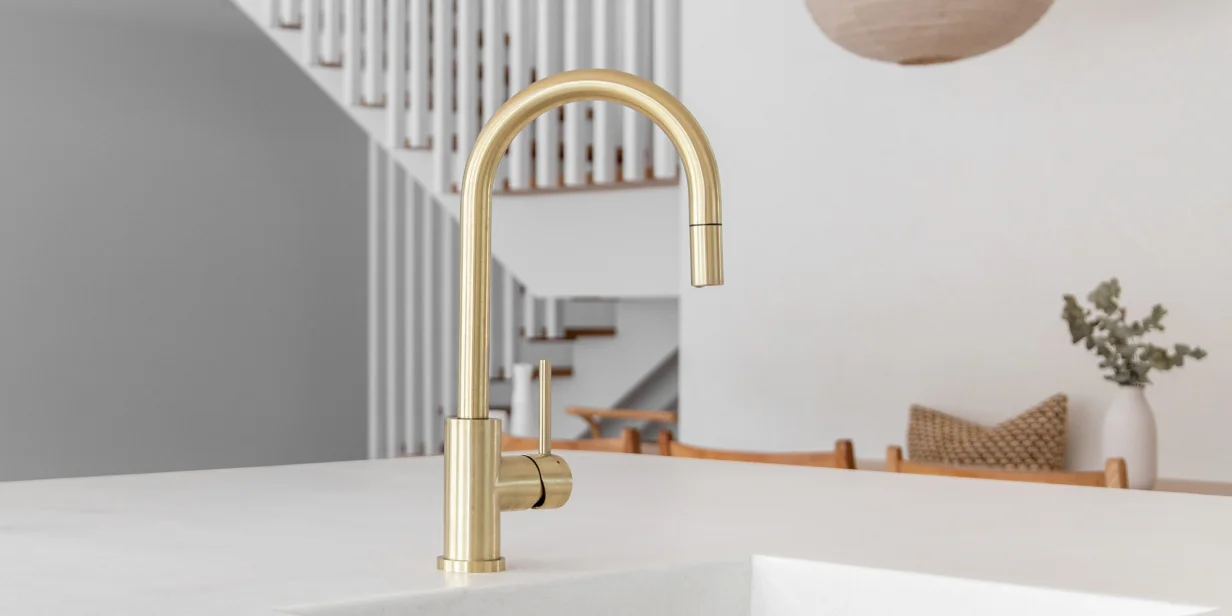
- 1 x Eden Square Kitchen Mixer
Tools:
- Measuring tape
- Drop sheet to protect the ground from marks
- Drill and drill bits
- Paint roller and dish
- Smaller paintbrush for details
- Liquid nails
What we did to prepare:
- Envisioned the style we wanted to achieve: classic coastal with brushed brass touches. Discovered ready-made VJ panel boards, which simplified the upcycling process.
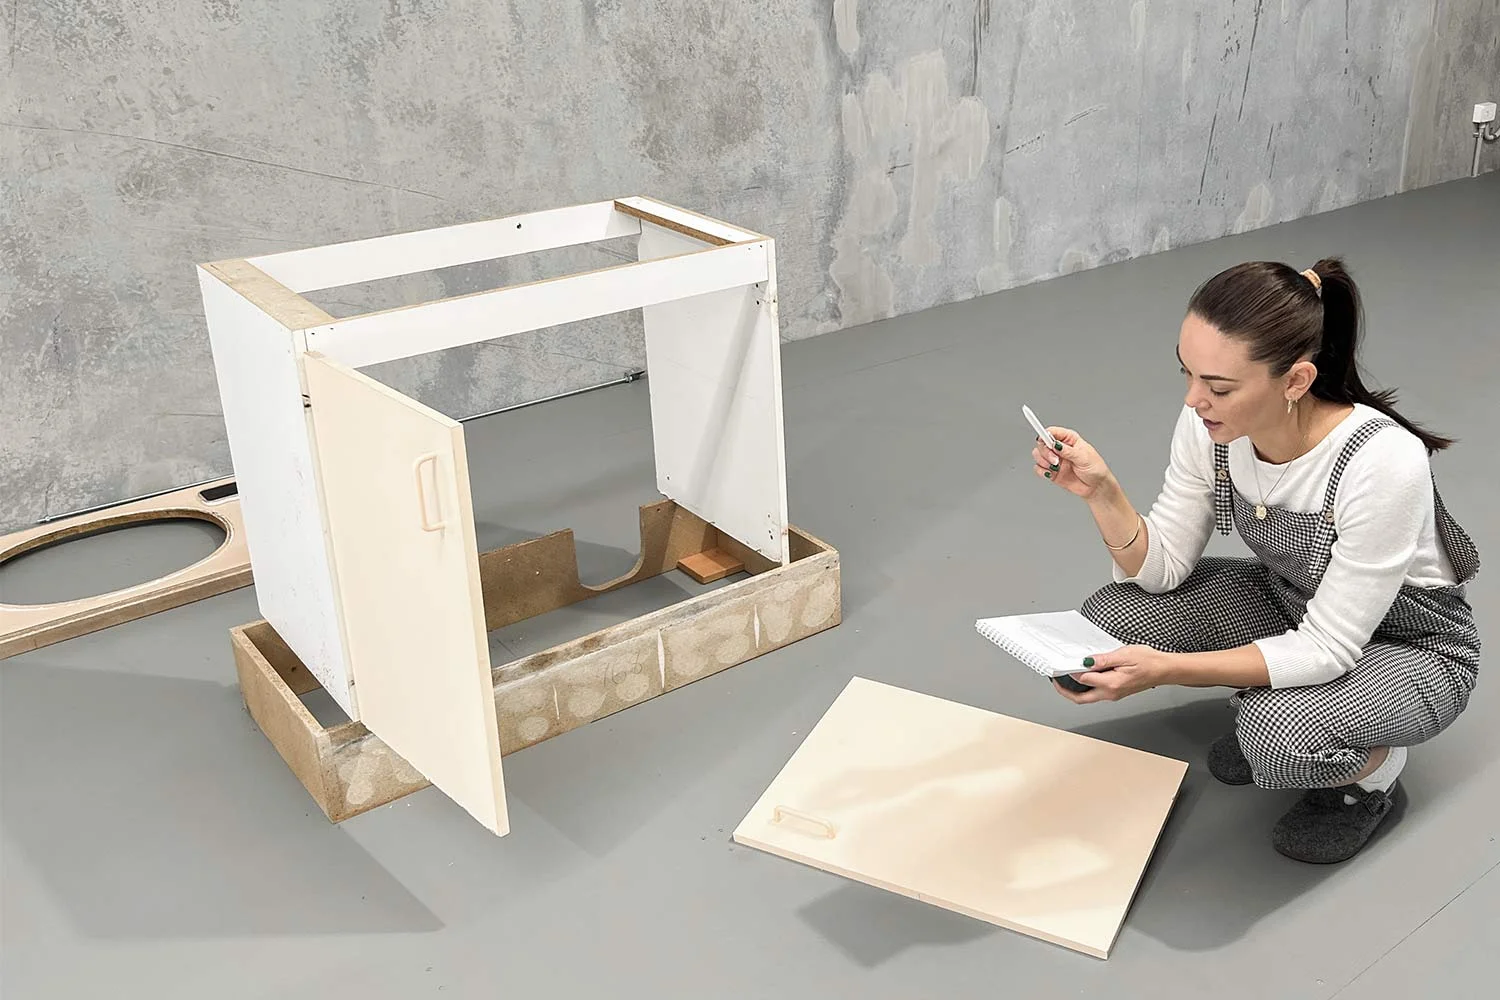
- Removed sections of the vanity we didn’t want to use or couldn’t be restored, such as the existing countertop with basin and tapware.
- Measured each side and door of the vanity, collecting the height, width, and length. This was needed to know what size to cut the VJ panels in order to overlay them over the existing vanity’s surfaces.
- Measured the dimensions of the countertop to know what size to cut our new one.
- Measured the bottom of the vanity to create a new base.
Day 1


1. Remove doors from the existing vanity and set them aside.
2. Cut the plywood base, VJ panels, and timber countertop to size. Our team helped us cut materials, but you can ask your local hardware store to cut most pieces as long as you have your measurements beforehand.
3. Sand the cabinetry doors, plywood base, and timber countertop to prepare them for painting.
4. Apply the first coat of polyurethane to the timber countertop and legs.
5. Use liquid nails to glue two VJ panels onto the doors. Place weight on top of the doors and leave them overnight.
Day 2
1. In the morning, apply the second coat of polyurethane onto the timber countertop and legs.
2. Using the 3-in-1 paint, prime all VJ panels, including the finished doors.
3. Again using the paint, apply to the rest of the vanity.
4. In the afternoon, apply the second coat to vanity and panels.
Day 3


2. Drill the plywood into the undersurface of the sides to create the base.
3. While the vanity is upside down, glue VJ panels onto the sides. Remove door hinges if necessary so you can screw them back in without the weight of the doors.
4. Reinstall door hinges.


5. Drill four holes into the base of the vanity to prepare for the timber legs. Use a smaller drill bit first and adjust the hole size with a larger drill bit if necessary. Secure legs with nuts.
6. Flip vanity right way up and place timber counter on top.
7. Entering through the open back of the vanity, drill and attach the top to the vanity.
8. Install cabinetry handles. If you aren’t using the existing holes, purchase adjustable pulls that can be fitted to the holes. However, you will drill through the VJ panels regardless.
9. Drill a waste hole and seal it in place.
10. Install the mixer, creating plumbing holes as necessary.


And you’re done!
We found the DIY bathroom vanity upcycling process easier than initially thought, keeping a relatively pragmatic approach to our desired style — but of course each individual experience will be different. You might want to experiment with different colours, re-design an entire piece, or try different fixtures during your transformation.
We’re always interested in your creative pursuits, so if you have upcycled a piece of furniture using our products, make sure to tag or DM us on Instagram!
For more renovation inspiration, discover more topics on our blog.